This very simple and basic beginner tote bag is one I use often when I’m in need of a new basic tote bag. You only need 1/2 yard of fabric and it can be made in only half an hour or less.
This is the easiest bag you will ever sew and it’s a great beginner sewing project. The hardest part about making this tote bag is choosing the fabric!
This design can be easily adjusted to make any size tote bag. Need a larger tote bag? Add a few inches to the measurements. Need it smaller? Take away a few inches.

The Super Simple Thirty Minute Tote
Finished size: 13″ wide by 14″ high.
Supplies
- 1/2 yard fabric
- cotton thread to match the fabric
Cut the Fabric
Iron the fabric and cut out the pieces.
1 piece 4″ x 44″ for the handles
1 piece 14″ x 32″ for the front and back

Sew the Bag Together
Handles
This is a super quick way to make bag handles without using interfacing. Fold the fabric in half lengthwise and press with an iron. Make the crease nice and sharp. Open it out and then fold in each side so that the raw edges meet in the center. Press with an iron.
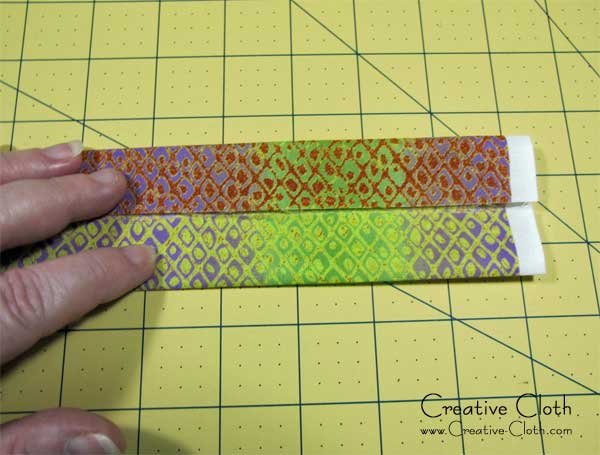
Fold in half again so that the folded edges align. The handles should be 1″ wide with four layers of fabric.
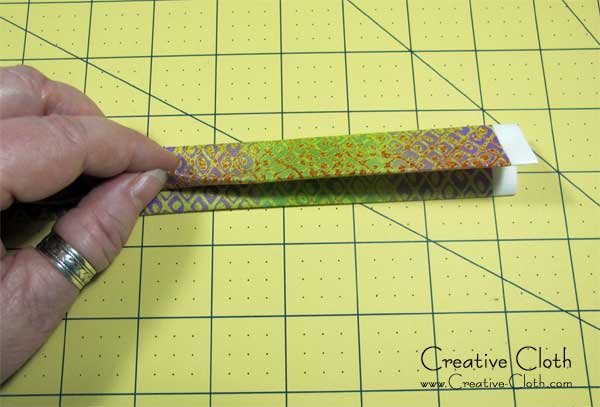
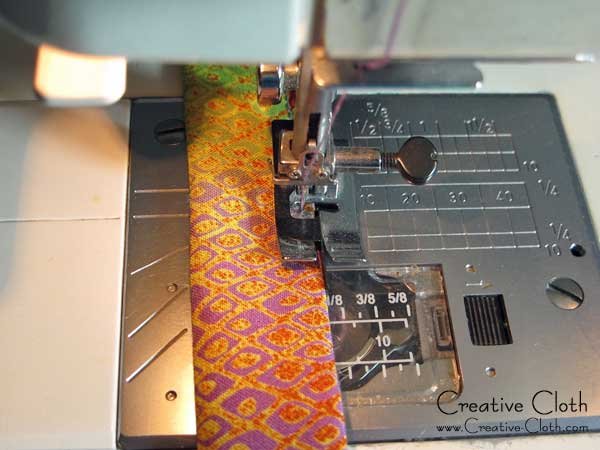
Sew a row of top stitching close the edge on either side. Press. Cut the strap in half so you have two pieces approximately 22″ long.
~Tip~
When sewing rows of top stitching, increase the stitch length slightly to about 3.0 as this gives a nicer stitched finish. After top stitching, press with an iron to set the stitches.

~Tip~
To sew perfectly straight lines of top stitch, use a stitch-in-the-ditch sewing machine foot which has a metal guide in the center. Align the guide with the edge of the fabric and nudge the sewing needle over to the left. Perfectly straight top stitching every time!
Sew the Front and Back
As this simple tote bag doesn’t have a lining, it’s a good idea to finish the seams to prevent fraying. There are several easy ways to do this.
If you have an overlocking machine, you can finish the seams using a professional overlock stitch. Some standard sewing machines also have an overlock stitch. You will need to check your sewing machine manual if you’re not sure.

Pinking shears have jagged edges on the blades and leave a sawtooth cut on the fabric. A rotary cutter with a pinking blade makes a similar cut edge to the pinking shears. These types of cut edges won’t completely prevent fraying, but it will help to minimize it.

Although all these methods work quite well, my favorite method is to use a french seam. A french seam is quick and easy to sew, looks professional, and will prevent all fraying.
How to sew a French Seam
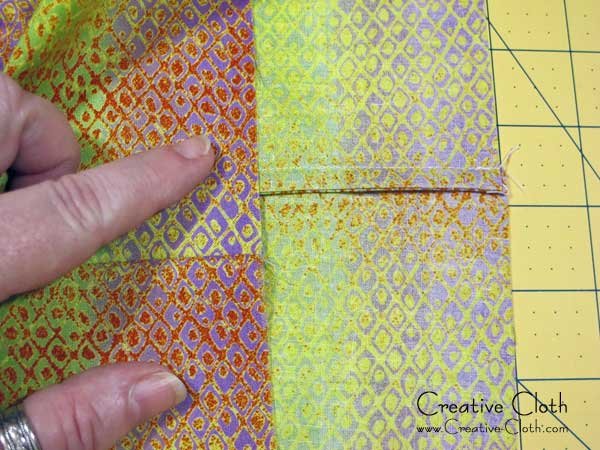
With wrong sides of the fabric facing, fold the fabric for the tote body in half so that it measures 14″ x 16″. Sew a 1/8″ seam down both sides. Trim away any frayed threads.

Turn the bag wrong sides facing out. Finger press the seams and pin.

Sew a 3/8″ seam down both sides making sure to lockstitch at the beginning and the end. Press. The raw edges of the seams should now be neatly encased.
Attach the Handles
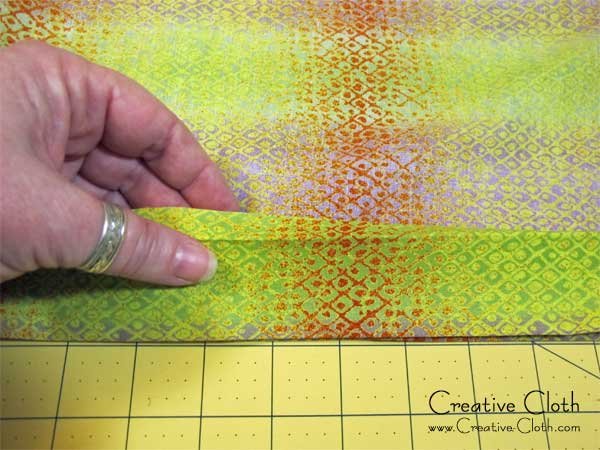
Make a 2″ hem along the top.
– Fold down 1/2″ seam along the top and press.
– Fold down a further 1-1/2″ along the top and press.
~Tip~
A hera marker makes it easy to make creases in fabric so that folds are crisp and even. You can find instructions on how to use a hera marker here.

Measure in 2-1/2″ from each side and push the end of one of the handles all the way to the folded edge. Pin in place.
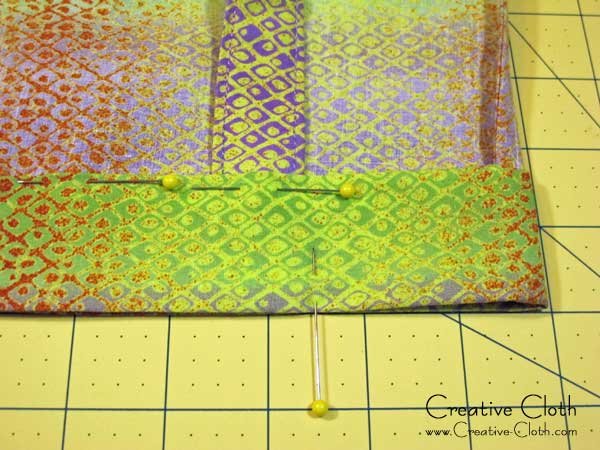
Do the same on the other side. Make sure the handles are not twisted.

Sew the bottom of the hem about 1/8″ in from the edge.
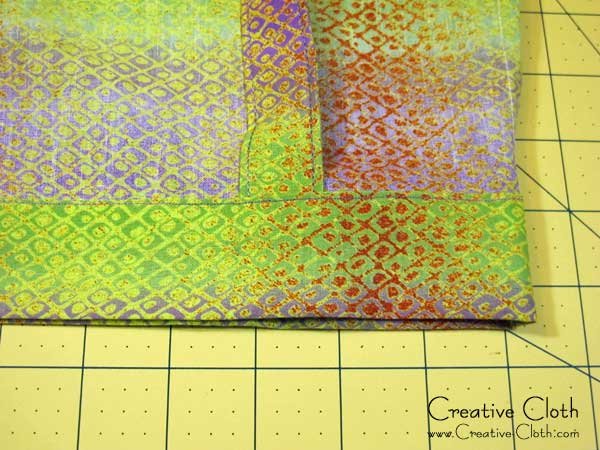
Fold the handles up and pin in place along the top edge of the hem.
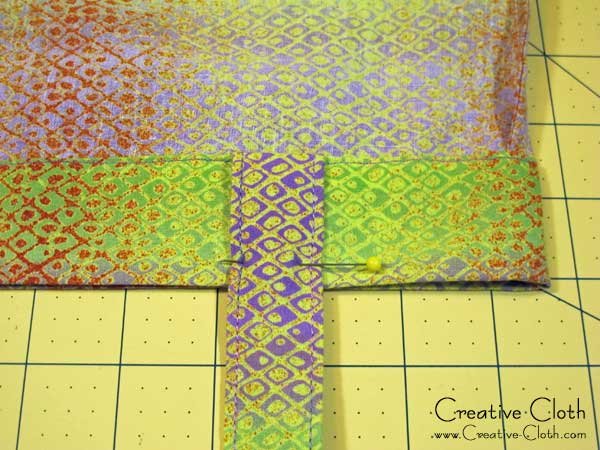
Make sure all the handles are aligned.

Sew a row of top stitching approximately 1/4″ from the top edge. Press.


