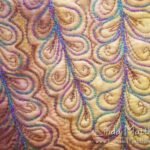
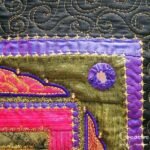
If you have ever printed images onto fabric using Inkaid, then no doubt you’ve discovered that once fabric is treated with any of these products it becomes quite stiff to rigid depending on the product type that you use. Sometimes this isn’t a problem if you’re going to sew the fabric using a sewing machine, however it can be a little tough on the fingers if you want to add some hand embroidery or embellishment.
There is a way however, that you can pre-coat fabric with Inkaid that will take away a little to a lot of the pain when machine and hand sewing, and also give you an exceptional printed image.
I sometimes like to print my images on fabrics such as silks, faux silks, and other light-weight fabrics. Working with these types of fabric can be challenging because they are lightweight and can’t absorb too much ink, often resulting in poor image quality.
For instance, in this example I was challenged to print an image onto a piece of poly-silk which had a lovely sheen and surface texture. Printing directly onto untreated fabric using my usual printer settings which is a photo setting, resulted in a seriously blurry image due to the ink bleeding badly.
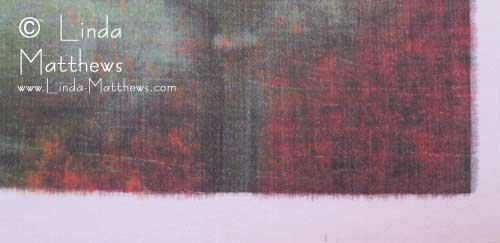
And even when using the standard printer setting, there was still a lot of ink bleed.
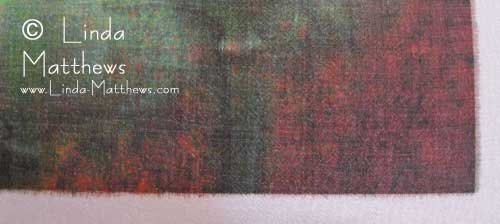
But after a few experiments using Inkaid I finally managed to get an excellent print. I think you can agree that the difference in image quality is exceptional.
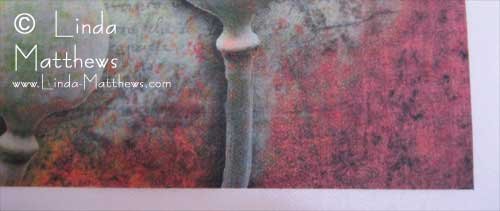
It also left the fabric quite soft which was a bonus.
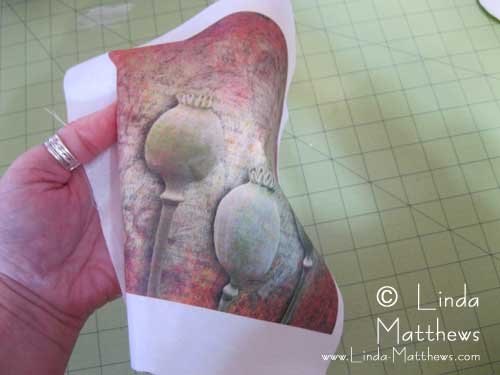
And the secret?
Well it all lies in reading the instructions and realizing that you can dilute the product. Yes I know reading the instructions isn’t something you would normally do, but I can tell you that it does pay off sometimes!
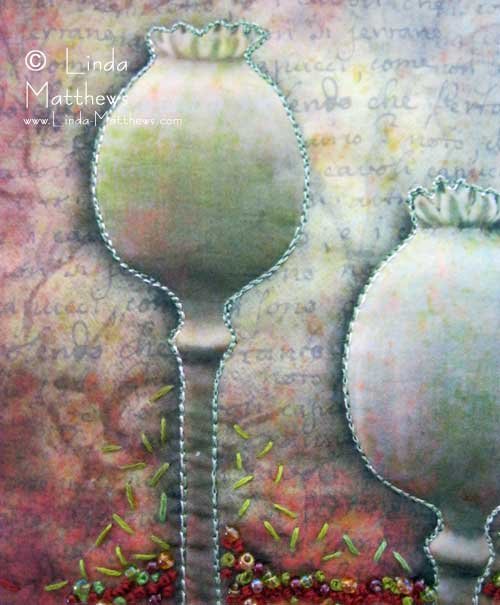
Diluting the product of course makes it less thick which in turn means you don’t have to use as much, so the fabric ends up with a much softer hand. This makes hand and machine sewing much less painful and you also get excellent image quality. For this particular project it ended up being super easy to hand embellish and quilt, and it also has no obvious needle holes.
The manufacturer’s recommendation is to dilute the product with up to 10% water, however when working with fabric I’ve found that you can fudge this factor by up to 50% and still get a decent print although this depends on the type of fabric you want to use and the type of product you use, so you will need to do some testing first.
But I can report that during sewing and quilting of this project I had no broken needles and no broken threads; there was no discernible difference between quilting on this piece of fabric treated with inkaid than any other piece of untreated fabric. And my purse project turned out brilliant!
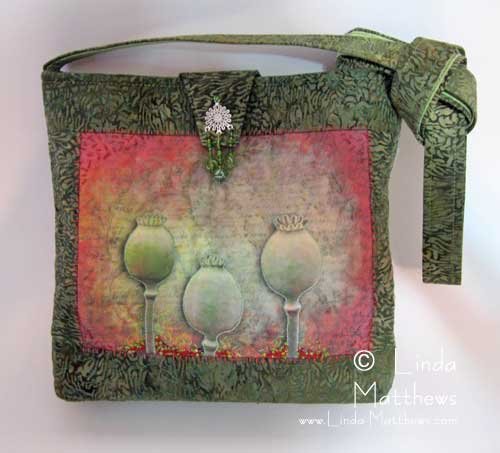
Sewing on fabric treated with Inkaid
This post may contain affiliate links. Please read my disclosure for more info.


