 A couple of weeks ago I posted a tutorial for making a vignette with a faded edge. Today I’ll show you a way to make a colored vignette. A colored vignette can be used to highlight an area of your image to draw focus to it.
This tutorial is presented using Photoshop Elements, but the instructions should be similar in Photoshop.
1. Download the image. We’ll use the same image as for the previous tutorial so you can see a comparison in results between the two.
 |
Download hands from Morguefile.com |
2. Once you’ve downloaded the image, open it in Photoshop ELements.
3. Select the elliptical marquee tool.
4. Enter the radius. I chose 200px, but if you have resized your image, you may need to adjust this number.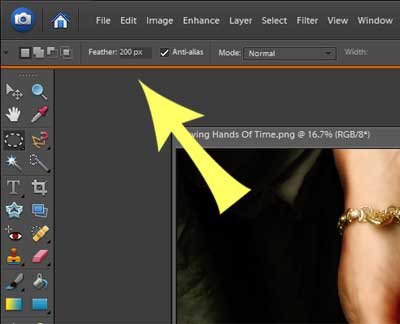
5. Click and drag the tool around the area you want to keep which is the hands and invert this area. You can invert it by selecting from the Main Menu
Select
Inverse
Or use the keyboard shortcut Ctrl+Shift+I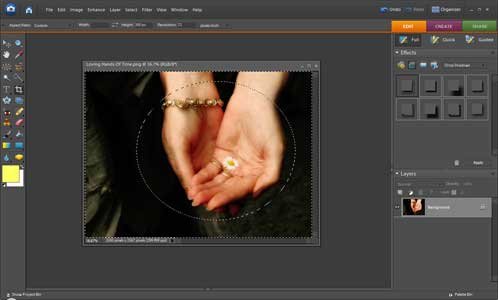
These first five steps are the same as for the previous tutorial for making a faded edge vignette. Now we’ll do things a little differently.
6. Create a new layer. You can name it if you like; something like “vignette”.
7. With the new layer highlighted …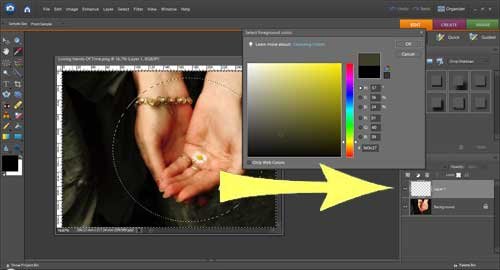
… click the foreground color to open up the color picker tool and with the eyedropper, select a color from the background of the image. Click ok to close the color dialog box.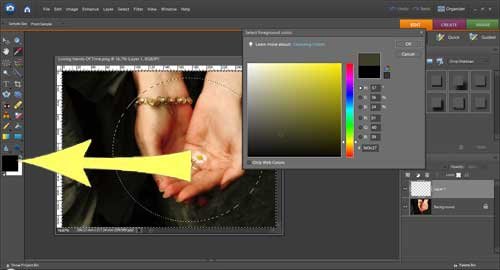
8. Click the paint bucket tool …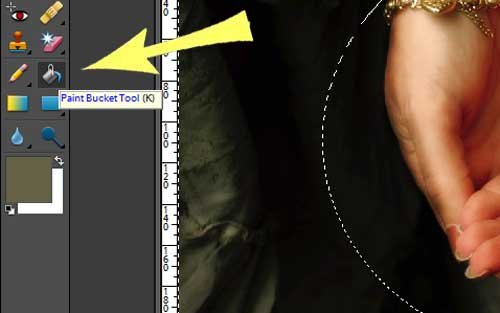
… and then fill in the inverted area around the hands.
9. On your keyboard press “Ctrl D” to close the selection.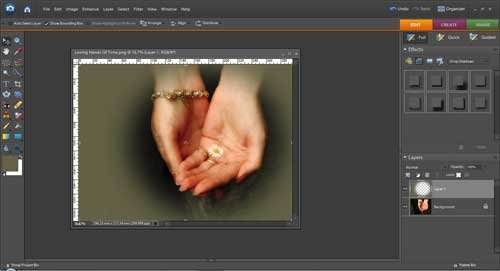
And that’s it! By filling the background with different colors you can easily change the mood and focus of the image. You can even fill the background with white which is another way of making a faded edge vignette.
Or use different colors.

You can also adjust the opacity to change how much of the background shows through the vignette.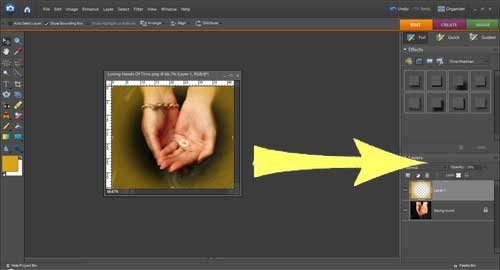

Enjoy and have fun!


