Assemble the Bag
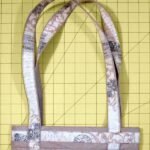
The Phoebe Bag is made is three sections – main bag, lining, and bag top. After sewing the bag top and main bag together, the lining is dropped in and hand stitched in place. This is a very easy way to assemble a bag.
Attach the Bag Top to the Bag Body
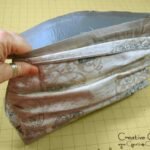
With right sides facing align the raw edges of the bag top to the bag body. Match the side seams, pin and sew. Fold the bag top right side facing out. Press.

Attach the Buttons
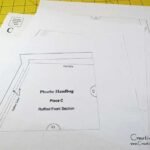
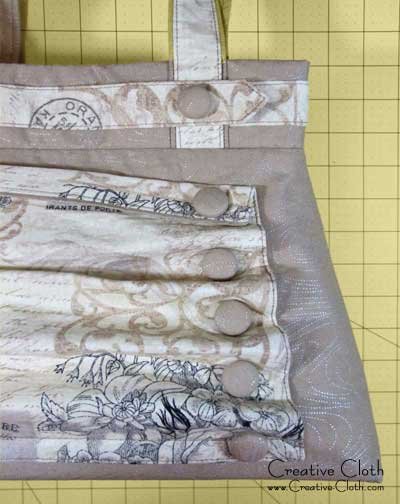
Make the self-cover buttons. Sew one onto the front of bag top to attach the belt to the bag strap. Sew the remaining five buttons onto the ruffled panel as per the button markings on pattern piece #A.
Tip: It’s easier to sew the buttons on at this point before you drop the lining in, because you can easily push the needle through without fear of sewing the buttons onto the lining.
Insert the Bag Bottom
Trim 1/8″ from one short side and 1/8″ from one long side of the bag bottom stabilizer and insert it into the bottom of the bag. It does not need to be sewn in. If the bag bottom doesn’t fit snugly, trim where necessary.
Tip: The bag bottom insert gives the bottom of the bag more structure so it can hold heavy items without collapsing the bag. Instead of ultra-firm stabilizer, you could also use plastic mesh canvas.
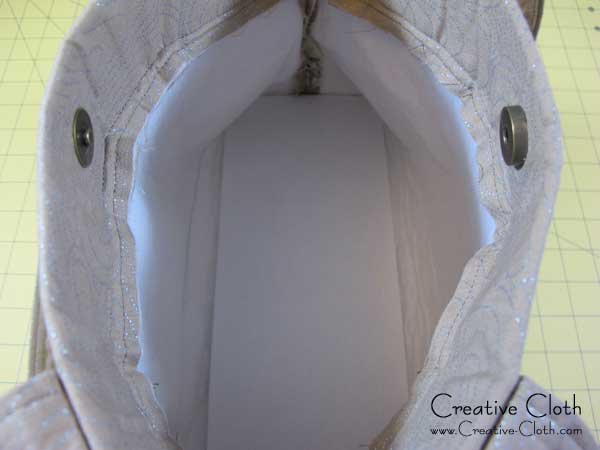
Another tip: At this point you could also add bag feet which will keep the bottom of the bag raised and prevent it from getting dirty. You can find instructions for attaching bag feet here.
Add the Lining
Drop the lining into the bag with the zipper pocket at the back and the slip pocket at the front. Adjust the seams at the side, and pin in place along the seam where the bag top joins the bag body. Handstitch the lining to the bag using a slip stitch. Give the bag a final press.

TA DA … Your Done! Enjoy!

The Phoebe SewAlong
1. Welcome
2. Gather Your Supplies
3. Prepare the Pattern and Cut the Pieces
4. Make the Ruffled Panel
5. Make the Bag Body
6. Make the Lining
7. Make the Bag Top
8. Assemble the Bag

