One of the best things about being a textile artist is that you get to make your own fabric which can be textured and colored using lots of different surface design techniques. And one of my favorite techniques is fabric marbling. As with fabric dyeing, I love the unexpected results.
One of the reasons I like marbling on fabric is because you can marble on any type of fabric at all including colored and patterned fabric. You can even over-dye fabrics which can be quite fun. You can also use a variety of different types of paints as well as inks.
If you haven’t yet tried marbling on fabric, you can find full instructions as well as supplies here at DharmaTrading and also here on my Fabric Dyeing & Painting Board on Pinterest. However the short version is – you need to use fabric that is soaked in a solution of alum and then allowed to dry. The alum ensures that the paint sticks permanently to the fabric. You also need a container filled with a couple of inches of water that is thickened using a special thickener such as methocel or carrageenan. The thickened water allow the paints to float on top instead of mixing in with the water. Once you have these things, you are ready to go.
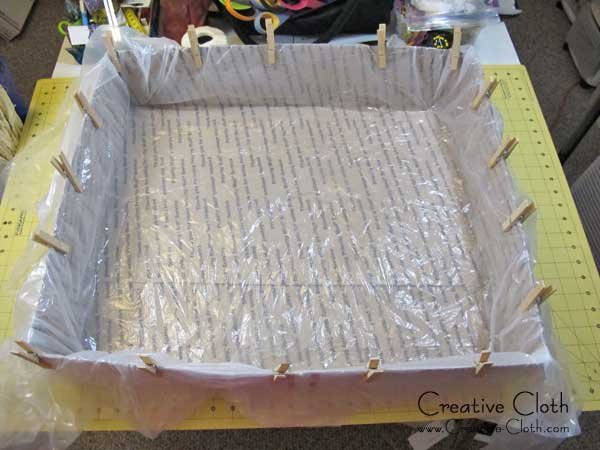
It’s been a while since I’ve done any marbling on fabric and I didn’t have a tray quite the right size for a fat quarter, so I improvised by making a cardboard frame to the size I needed using some usps boxes which I had on hand, and then lined it with plastic held in place with clothes pegs. You could also use paper clips to hold the plastic in place but I didn’t have enough to go around. This is also how I make trays for tray dyeing my hand-dyed fabrics.
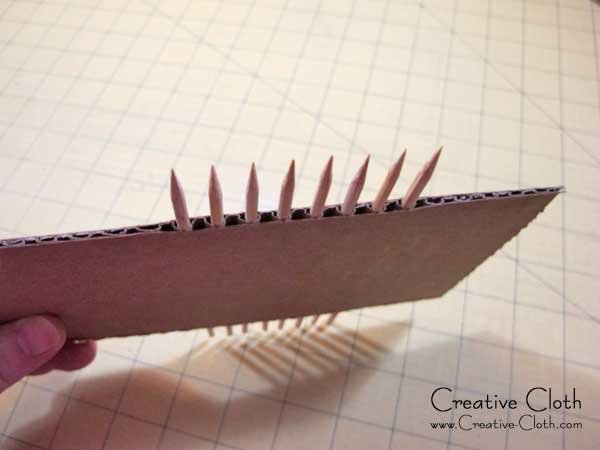
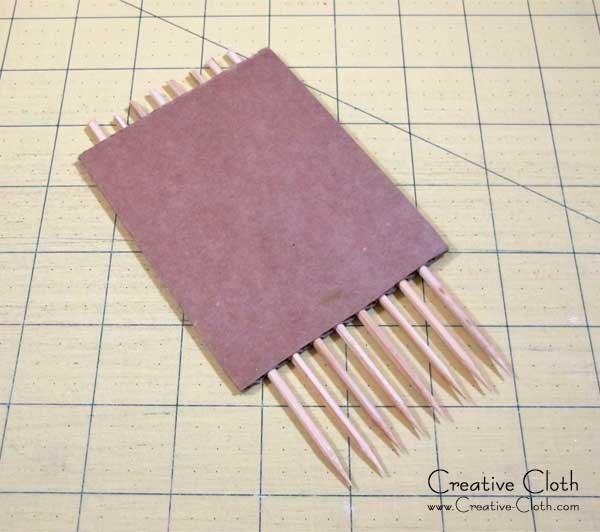
For a marbling comb, I pushed some wooden skewers through the wavy holes in a piece of cardboard, and then cut to size.
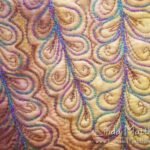
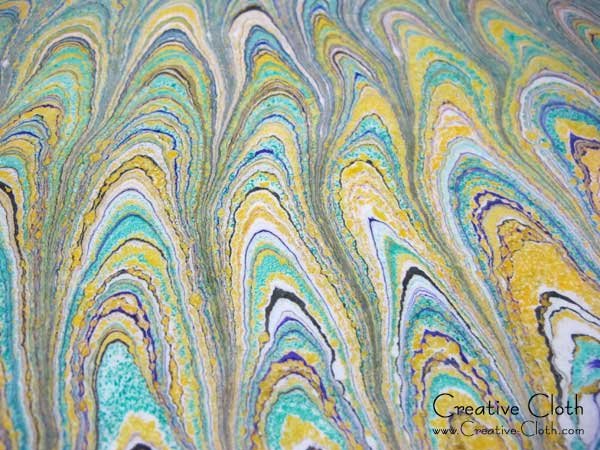
Just like making pancakes, the first couple of attempts always seem to go a little askew. I attempted the traditional marbling design where it looks like feathers and they went a little skewy, but I still like the organic shapes and the color. For these pieces I used Jacquard Dye-na-flow paint which is one of my favorite paints. It’s very runny like dye so you can use it in lots of different ways and it works well for marbling.
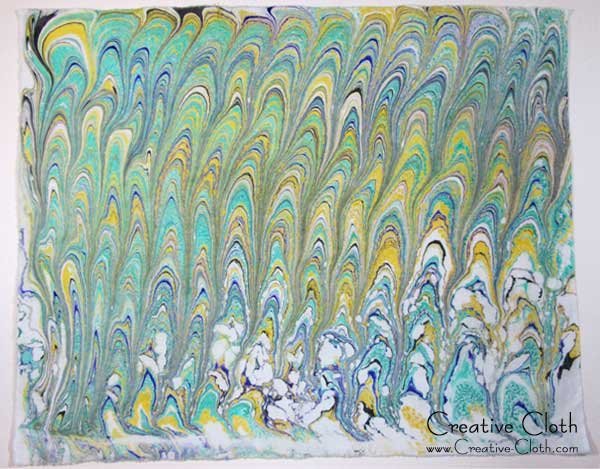
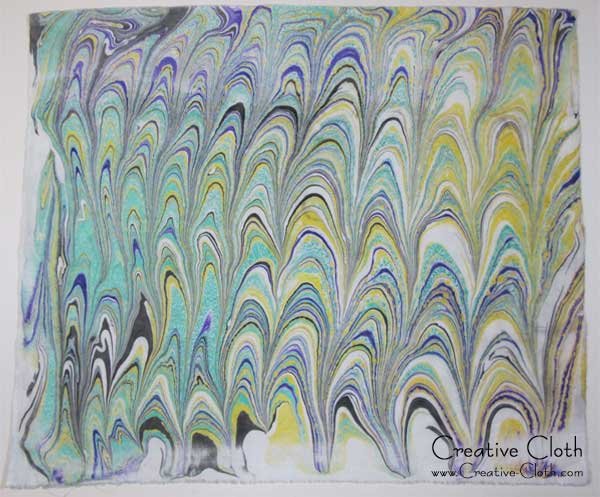
For some reason, the paints came out speckled. I guess I should have shaken the bottles a little more, but they definitely made an interesting pattern.
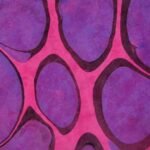
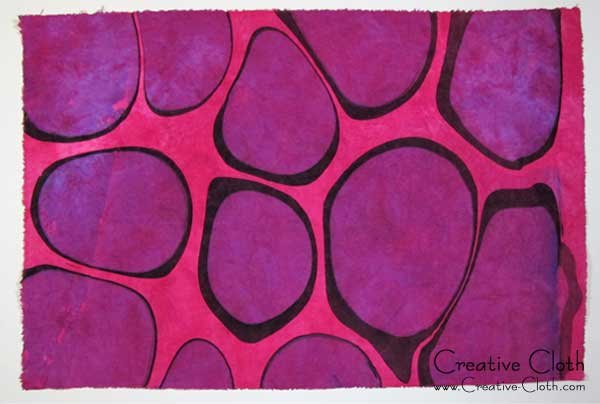
This set of marbling is done using a totally different technique. I used a value gradation of hand-dyed fuchsia pink fabric going from light to dark. This time I used Tsukineka All-Purpose Ink in blue and black. Because ink is transparent, the texture of the hand-dyed fabric shows through. And because the fabric was value-graded, the blue ink changed color as the fabric color deepened. Color theory: blue + red = purple.
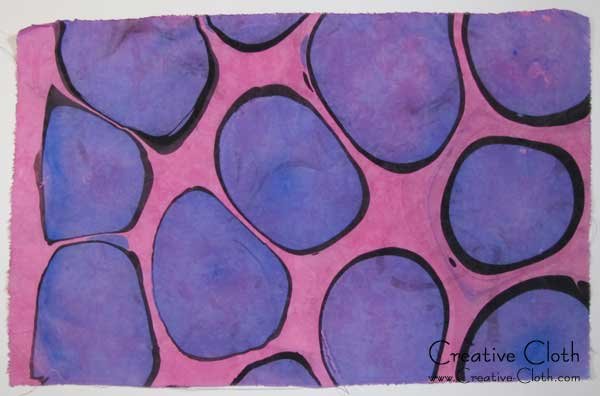
I used an eye-dropper to make drops of black ink first, let it spread, and then dropped blue in the middle. The blue pushed the black out into these amazing organic shapes.
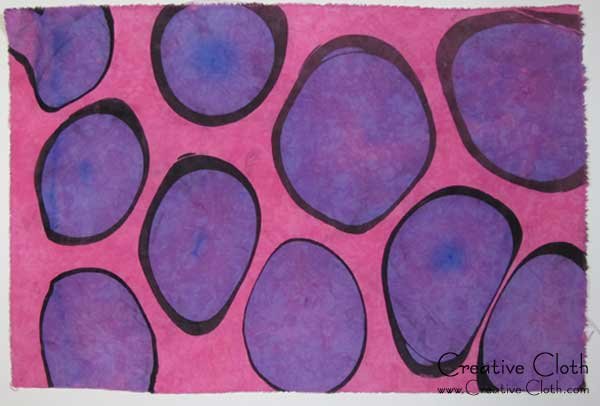
I found the ink a little heavy so I added a few drops of rubbing alcohol to dilute the ink. I found that the more rubbing alcohol I added to the blue ink, the more it pushed the black out.
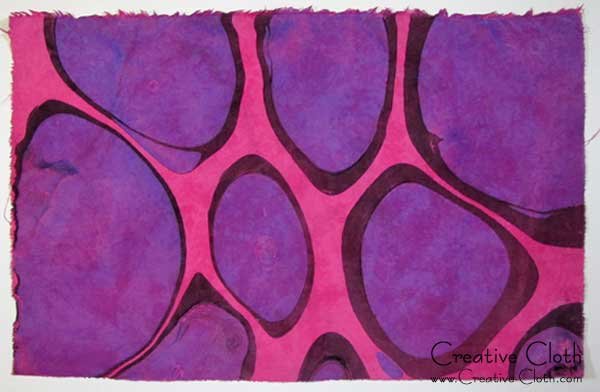
I was just getting the hang of this when I ran out of fabric but I’ll definitely be trying this again soon.
I have a few more samples drying on the rack so I’ll get photos once they’ve dried. Maybe if I practice enough, one of these days I’ll get this good at marbling.

