This week I’ve been super busy making some fabric postcards, and along the way discovered that injured prints make fabulous postcards.
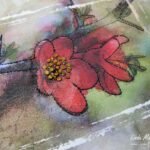
This is a print that really went screwy. It was printed using digital grounds on textured fabric (it’s a real pain in the *** when these prints go wrong because it takes so long to prep the fabric) and the image printed out in a portrait orientation instead of landscape and subsequently the right hand side of the image got chopped off severely.
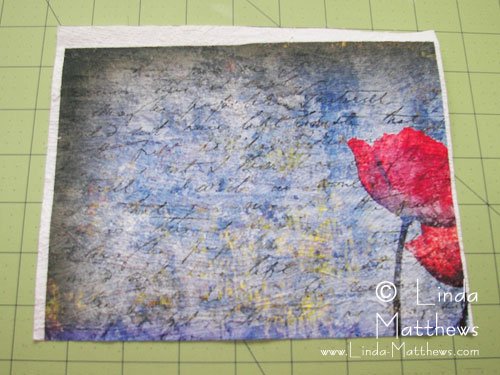
However even with the chopped of main image, I thought there might be enough of the image left to make an interesting postcard.
Here’s a tip for you …
Using a “viewer” to fussy cut your fabric or images makes things a whole lot easier. A viewer is easy to make – simply determine the size of your project and for a postcard I use 4″ x 6″, then cut a hole out of a piece of cardstock. Position the cutout area over your fabric to determine what looks best for your project and when you’re happy with what you see, mark the area using a fabric marking pen or pencil then cut it out.
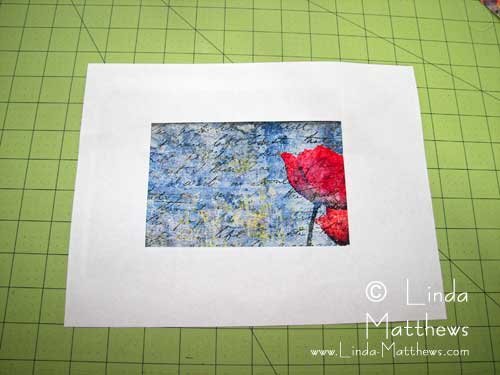
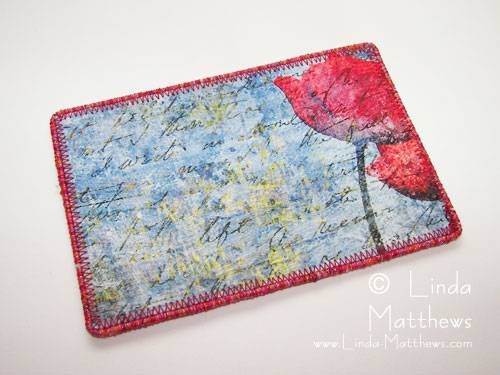
This is what was I ended up with for my postcard which looks kind of interesting don’t you think?
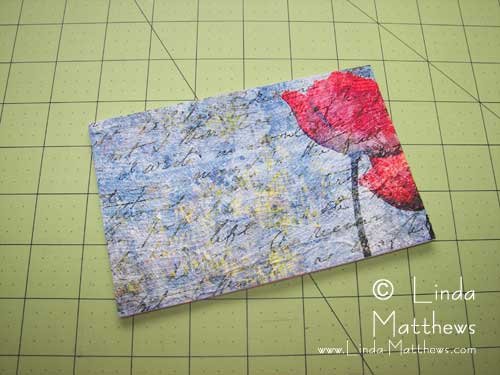
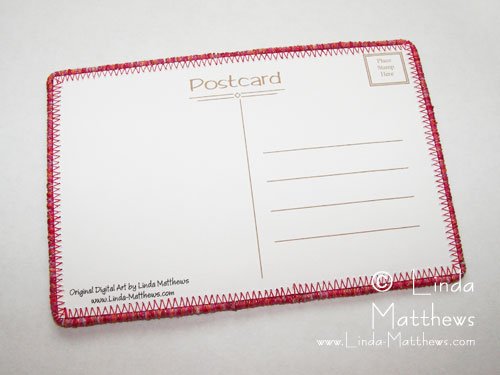
And if you’ve never made a fabric postcard before, they can’t get much easier than this. For my image transfer fabric postcards I print out my image, or in this case I salvaged one from an injured print, then cut to size some fusible peltex and a piece of cardstock for the back. I like to use a pre-printed backing on my postcards and if you want a copy you can download a copy here (opens in new window – copy and paste) then print it out onto cardstock or fabric. I also sometimes use machine wrapped cording to finish the edges.
PS I’ve been asked a number of time how I join my machine wrapped cording when I use it for edging or couching. You can find instructions here.
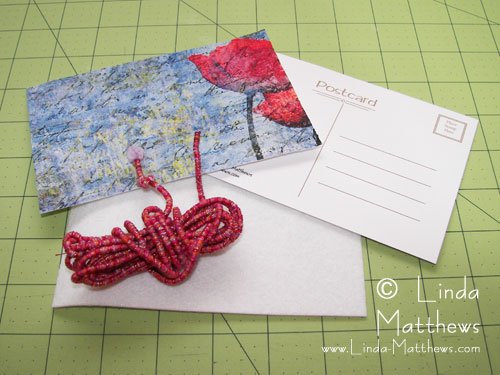
And once everything is fused together and the edging added, here’s my postcard.
Front …
and back …
Fabulous!

