Have you ever printed an image onto fabric and have it turn out a little less than perfect? It happens to me more often than you’d think. But there’s no need to throw those prints away – there are lots of creative ways to recycle and reuse them.
I have several different Epson printers that I use for printing onto fabric and generally I don’t have too many problems. Epson printers are quite robust and produce beautiful fabric prints with great color quality.
However from time to time I end up with a fabric print that prints with some sort of flaw. I call these prints “injured prints”. They’re not quite good enough to use, but also not quite bad enough to throw away.
Sometimes they happen because of my own error. Like when I’m not paying attention and press the print button on my printer without adjusting the settings, the result can be poor or washed out color quality.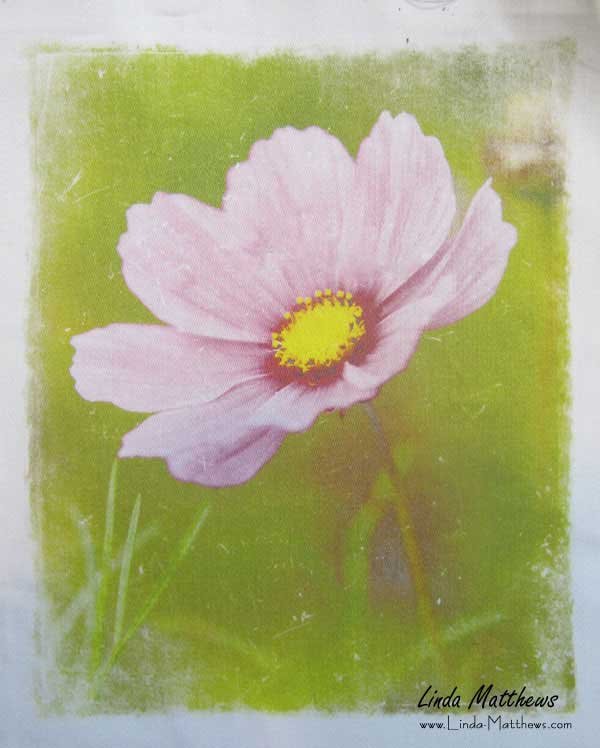
And if you’ve ever seen these white worm-like marks, these marks are made when you leave stray threads on the surface of the fabric. When the threads are removed, the white marks become visible because the ink wasn’t able to penetrate through to the surface underneath. You can avoid this by remembering to run a lint roller over the surface to remove any stray threads prior to printing.
Large white marks can occur when creases are made in the fabric as it feeds through the printer due to the fabric not being properly adhered to the backing paper.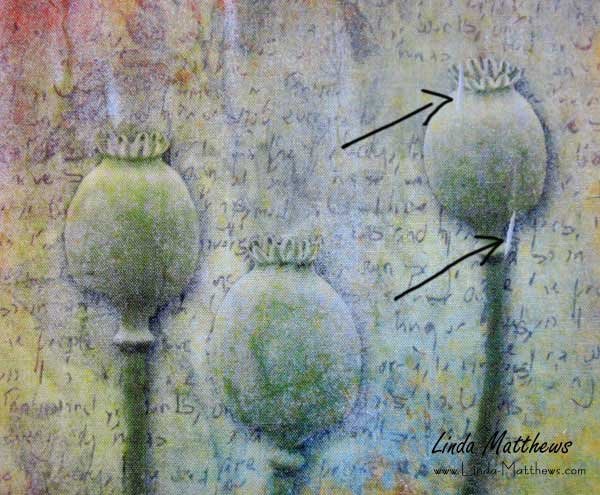
And black smudges can occur for the same reason. When the fabric is not securely attached to the backing paper, the fabric can come loose as it feeds through the printer and it rubs up against the ink cartridges.
But sometimes poor quality prints can result through no fault of your own.
Such as unexpected spots where the ink has dripped during printing. This happens from time to time, but if it occurs regularly you should probably run a head cleaning cycle.
Or horizontal lines that run across the printed image. This is also called horizontal banding and means that you need to run a head cleaning cycle or print head alignment. Running a head cleaning cycle on Epson printers is recommended from time to time to ensure that the printer continues to print beautiful images.
Whatever the reason for the poor result, there’s no need to toss these prints in the trash – simply recycle and reuse!
With the cost of printer ink being what it is, it makes sense to hang onto your printed images, even if they aren’t perfect. I have a whole drawer full of what I call “injured prints” – printed images that were not totally successful for one reason or another.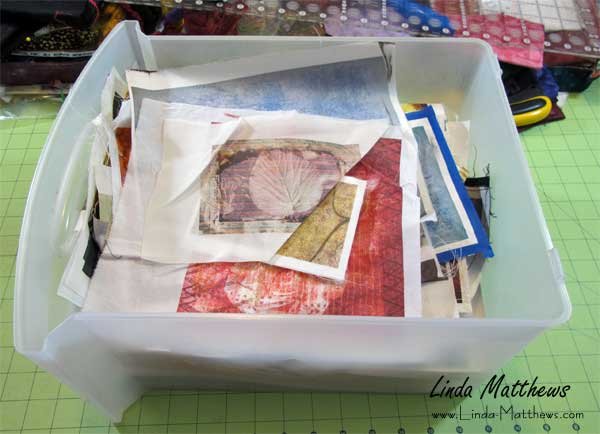
I keep them all together in one place and when I’m working on a project that needs an image, I have a quick rummage through the pile before I go printing a new image. With a little creative imagination, these “less than perfect” prints can be successfully used in other sewing projects.
For example, I cut around the damaged areas of this fabric print, then cut the pieces into shapes and used them to make a fabric teacup.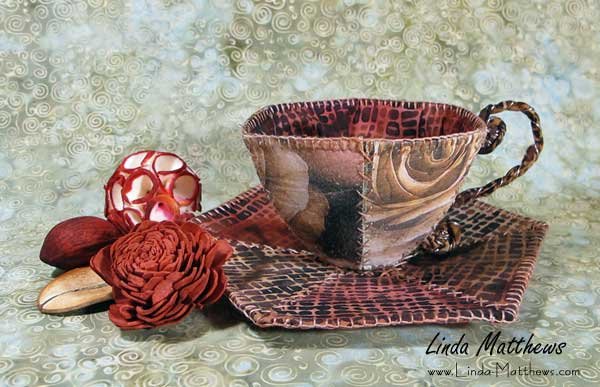
I trimmed the end of this injured print and turned it into a favorite wallet.
And this one became my cell phone pouch.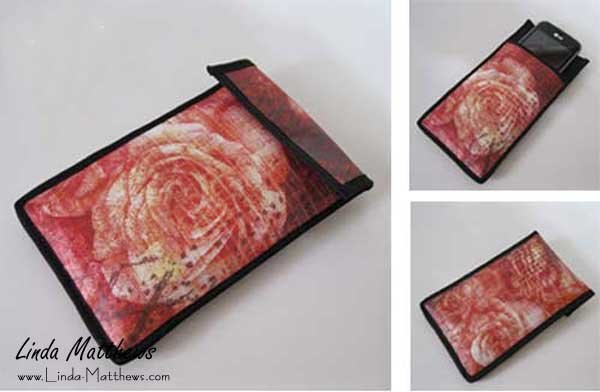
Injured prints can be cut up and used to make fabric postcards which are perfect to give as gifts to friends.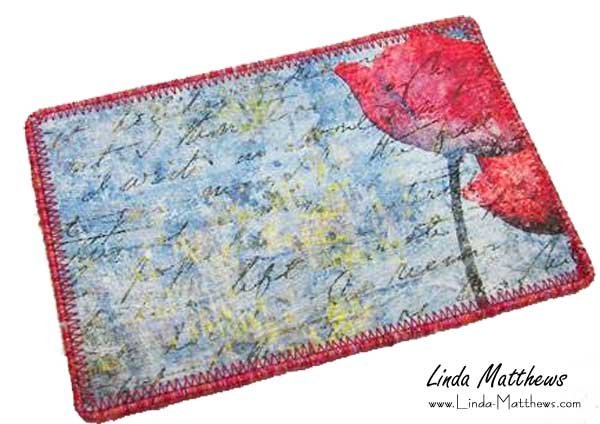
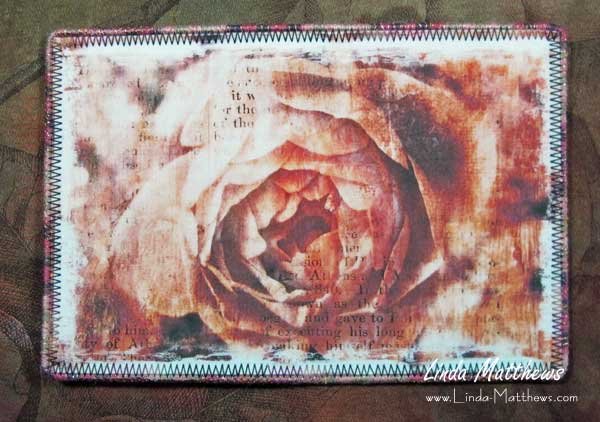
And small injured prints can be used in stitched fragments and fabric journals.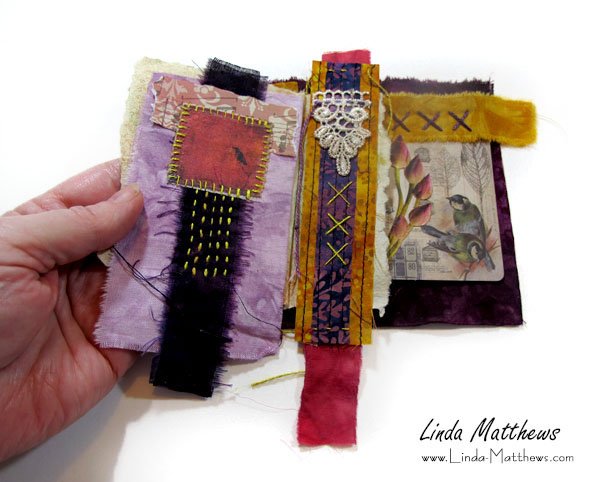

These are just a few ideas, and if you’ve found other ways to use your injured prints, be sure to let me know!

