
Using the same technique for making simple repeating patterns and simple half drop patterns, you can also easily create more complex repeating patterns. By combining several images into one design, you can create complex designs that are visually interesting and can be made in no time at all using Photoshop Elements.
To make the main design you could use hand-drawn images and scan them into Photoshop Elements, or use digitally created designs.
Note: This tutorial is demonstrated using Photoshop Elements however the instructions are similar in Photoshop CC.
How to Make a Repeat Pattern
1. Arrange the Design
Open all your separate images in Photoshop Elements.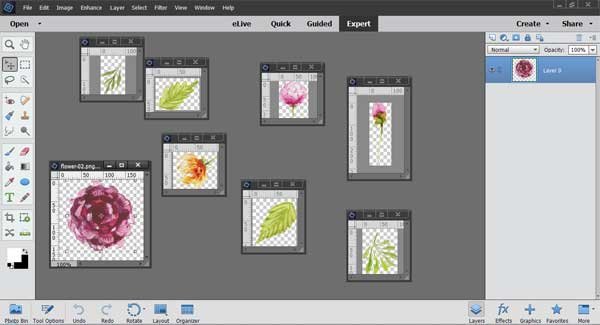
Make a new canvas large enough to contain all the different elements of your design. This canvas is 500px x 500px. Copy and paste each of the images onto the canvas and arrange them in a pleasing design. Make sure that some of the elements nudge up close to the edge of the canvas. Right click on one of the images in the layer palette and select “Flatten Image”. This is your basic design.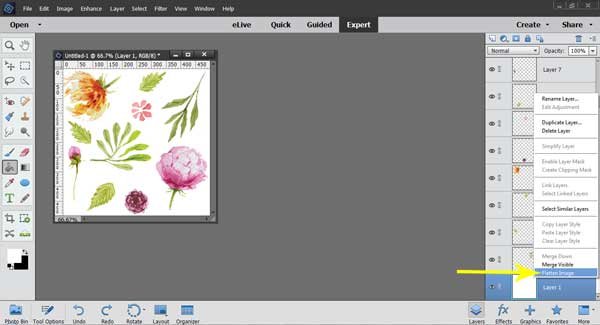
2. Define a pattern
From the main menu:
Edit > Define Pattern
The pattern dialog box will open. Give the pattern a name and click OK.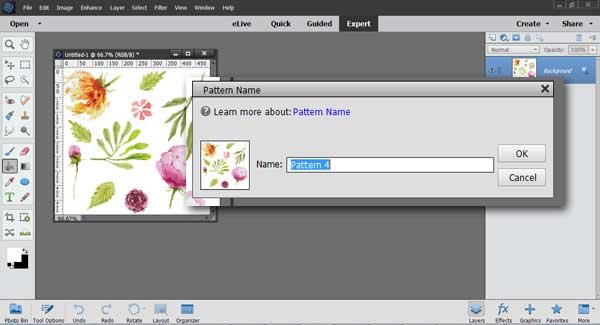
3. Make a new file and fill it with the pattern
From the main menu select: File > New > Blank File
Set the size for your canvas and position it alongside the design.
Select the “Paint Bucket Tool”
Select “Pattern Fill” in the Tool Options
Scroll down and select the pattern you just made which you can see has been added to the bottom of the default set of patterns.
Click inside the new empty file and you will see that it fills with the pattern you just made.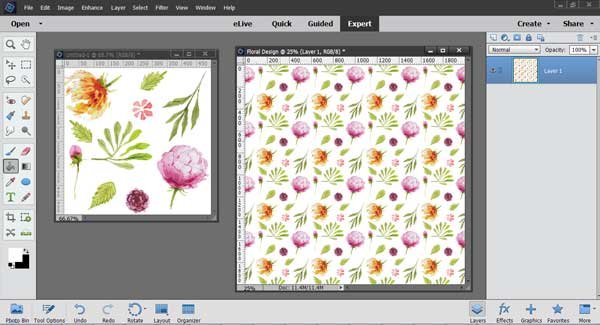
How to Make a Half Drop Repeat Pattern
You can also easily make complex half drop repeat patterns which are even more visually interesting.
1. Widen the canvas size
Select your basic design. If the layer is locked, click on the lock on the background layer in the layers palette to unlock it.
From the main menu select: Image > Resize > Canvas Size
Resize the canvas to twice the width. For example, the sample image is 500px wide by 500px high. The canvas size now becomes 1000px wide by 500px high.
Change the Anchor Setting so that it widens the canvas on the right side.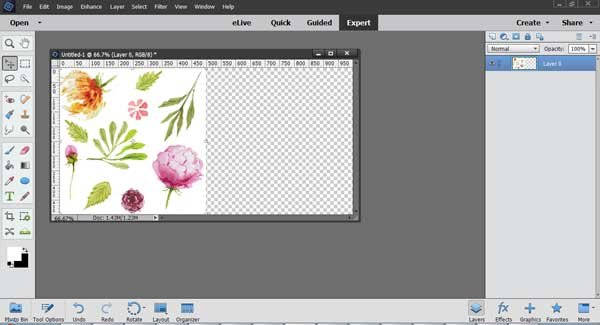
Duplicate the image by clicking on the image in the layers panel to select it. Right click and select “Duplicate Layer”. Click ok. You can see that there are now two layers, one on top of the other.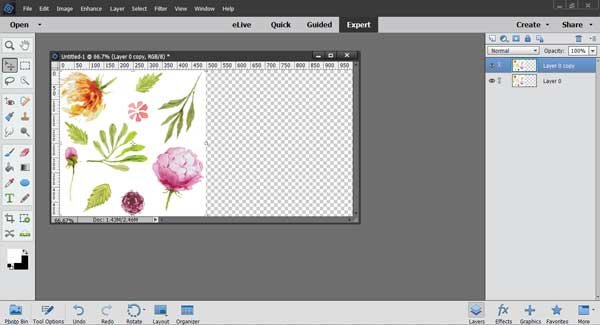
Click on the top layer in the layers palette to select it.
From the main menu select: Filter > Other > Offset
In the “Offset Dialog Box” change the settings:
Horizontal: 500 – moves the image to the right side of the canvas
Vertical: 250 – moves the image vertically by 50%. You can adjust this setting as necessary to create an interesting design.
Undefined Areas: Wrap Around
Click OK to close the dialog box. You can see that the image on the top layer has now become offset horizontally.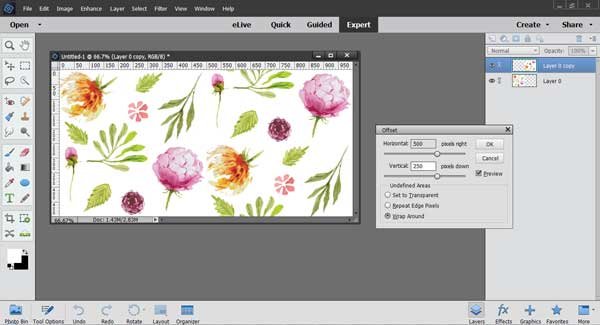
Using the same instructions as above, define the pattern, create a new large canvas and fill the canvas with the pattern.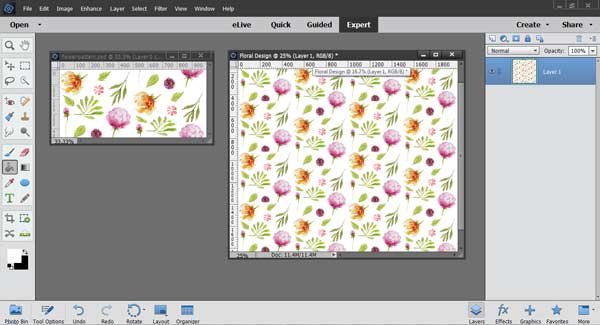
You can even make the design even more interesting by rotating the offset image by 180 degrees. This results in a pattern that is offset and alternates in a different direction.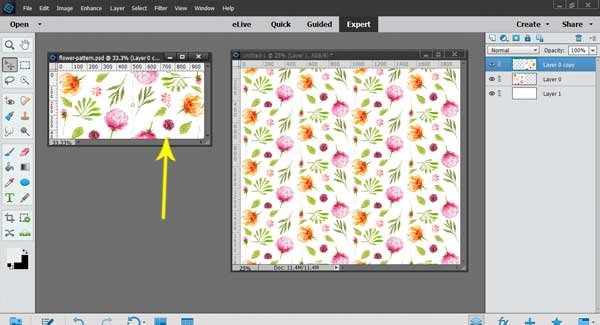
You can find more resources for designing in Photoshop here in the Resources Section.


