As I have previously mentioned, I got a new toy … a Silhouette Cameo digital cutting machine.
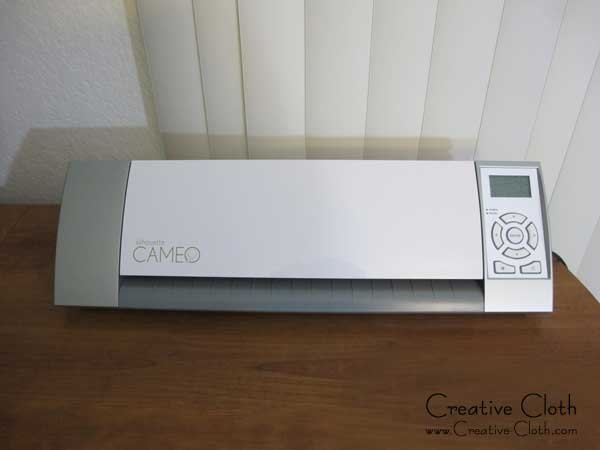
One of the reasons I bought the machine was so I could cut fabric applique shapes which the machine is supposed to do quite easily. Silhouette offer a fabric cutting blade which is exactly the same as the standard cutting blade but it has a blue casing so you can identify it easily and set it aside to use for fabric cutting only. This makes sense as I use different scissors for cutting paper and for cutting fabric. So now I have different blades – one for cutting paper or plastic stencils and one for cutting fabric.

So this is how you cut fabric applique shapes with the Silhouette Cameo …
First open a jpg or png file in the editing software. I’m using the designer software which is an upgrade from the standard software and offers a nice set of drawing and editing features. I’m using a simple leaf shape because I want to cut a bunch of leaves to use for a fall wallhanging project that I started several weeks ago.

It’s very easy to convert simple line drawings into cutting designs and it takes only seconds.
Open the trace window > Select trace area > Trace

TaDa! The design is ready. Some designs need a little more editing, but this one was a very simple line drawing so no additional work was needed to prepare it.

You can duplicate and resize designs, and position them using the grid in order to cut multiple shapes at the same time. So now my designs are ready to cut.

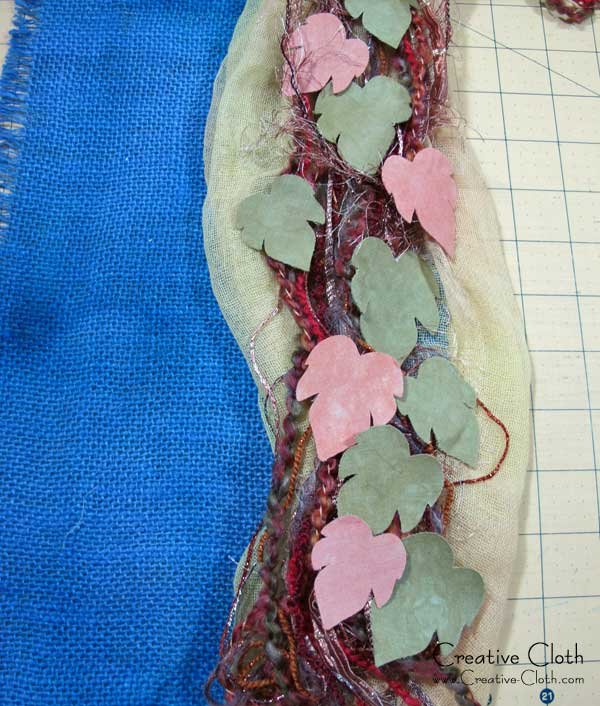
Silhouette recommends cutting fabric shapes using a piece of interfacing fused to the back of the fabric. This is fine if you are going to sew or applique them onto a fabric background, but I want to make three dimensional fabric leaves that are similar to these so I fused two pieces of fabric together using wonder under fusible webbing in the middle.

I then positioned the fabric on the sticky cutting mat. When cutting fabric you want to cut as many shapes as possible so as not to waste fabric but I found that when cutting too close to the edge, the fabric lifted. To solve that problem I taped down the edges using some blue painters tape.

The machine offers a lot of different types of default settings so I set the machine to cut thick fabric and I changed the cutting depth setting to 6, the speed to 3, and also set it to double cut. After several test runs, these are the settings that worked best for this particular fabric which is Kona cotton and which is the fabric I include in all my hand-dyed fabric club packages. If using different fabric, you would probably need to do a test first and then change the settings to suit.

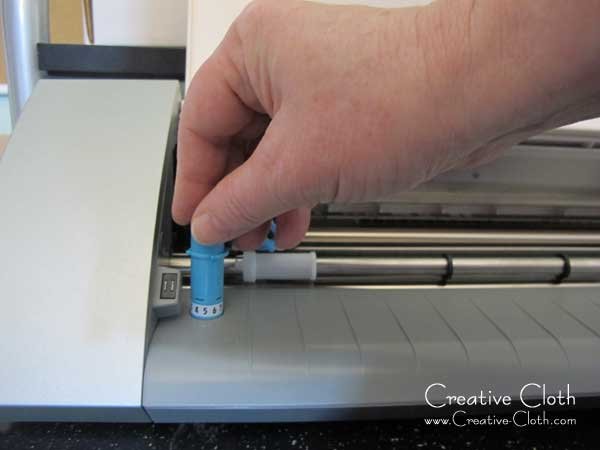
It’s quick and easy to change the blade depth on the cutting blade using the built-in ratchet on the machine.
Once everything is set, simply load the cutting mat, press the Send to Silhouette button in the software, and the machine starts cutting.

It only took a few minutes for the machine to cut these shapes and when finished, you simply peel away the fabric from the edges.

When the fabric is pulled away, the shapes stick to the sticky cutting mat and can be removed carefully using the spatula tool.

So now I’ve got a bunch of nicely cut out leaf shapes ready to use on my project and it was much quicker than cutting them out by hand!
