
Adding a lining to a tote bag makes the bag stronger, adds structure and shape and also improves wearability. A drop-in lining can be easily sewn into a pre-made tote bag, but if you’re in the process of making a tote bag that needs a lining, this can also be easily added.
This tutorial shows you how to add a standard lining to a tote bag.
Supplies
- Super Simple Thirty Minute Tote Bag Pattern
- Lining Fabric
Instructions
Sew the body of the tote bag.
To calculate how much fabric you’ll need for the lining, measure the width of the bag along the top between the side seams …
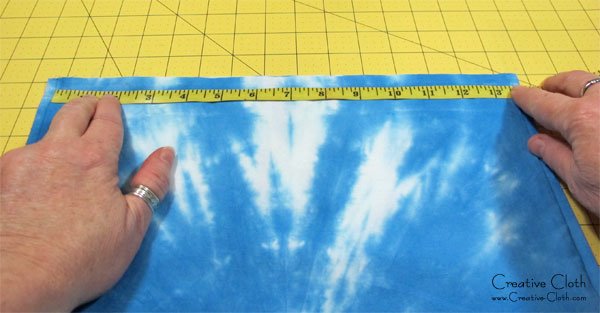
… and the length of the bag along the side seam.

If your bag has boxed corners measure the depth of the boxed corner.
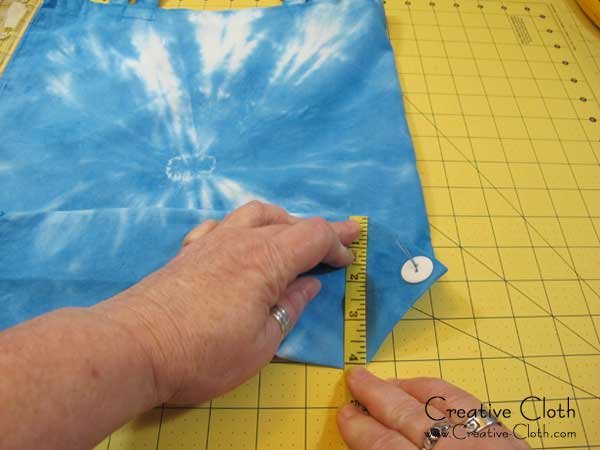
Cut two pieces of fabric as follows
For bags without boxed corners – width = width of bag plus 1″; length = length of bag plus 1/2″
For bags with boxed corners – width = width of bag plus 1″; length = length of bag, plus depth of bag ÷ 2, plus 1/2″
For example, my bag measurements are: width = 13-1/2″; length = 14-1/2″; depth of boxed corner = 4″. So I’m cutting two pieces of fabric 14-1/2″ by 17″.
Iron the fabric before you begin. With right sides facing, sew 1/2″ seams down both both sides and across the bottom, leaving approximately a 6″ opening along the bottom seam.
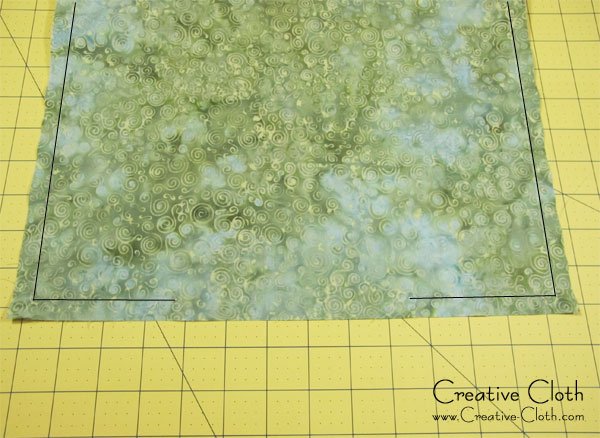
If the bag has boxed corners, follow this tutorial to make boxed corners.

Pin the straps to the main body and baste in place.
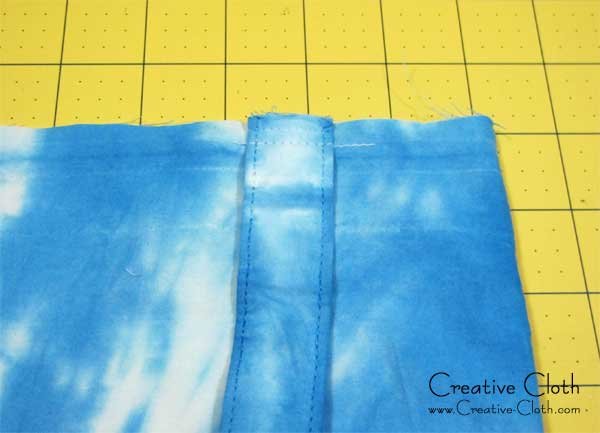
Turn the main body of the bag right side facing out. Turn the lining wrong side facing out. Slip the main body into the lining.

Align the raw edges along the top, pin, and sew using a 1/2″ seam allowance.
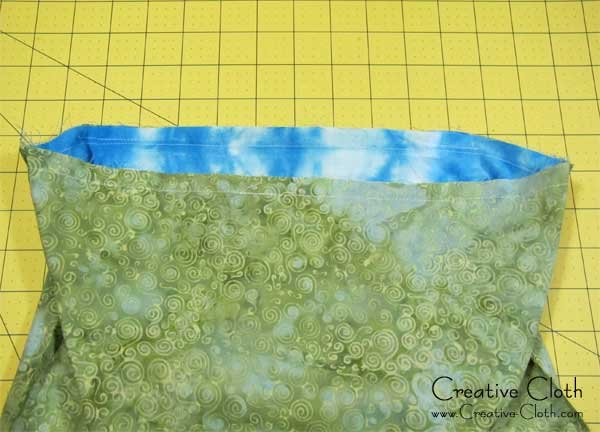
Pull the bag right side out through the opening in the bottom of the lining.
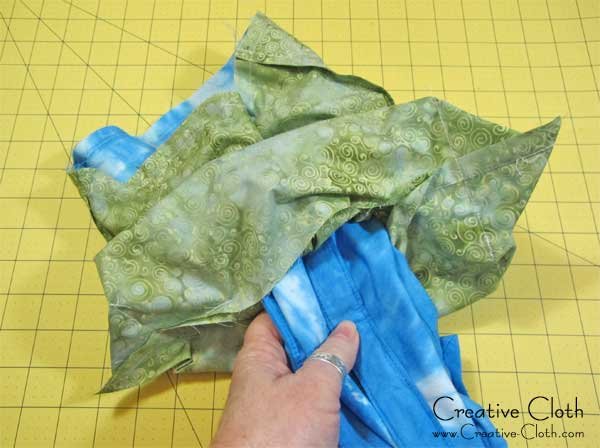
Hand sew the opening closed. Arrange the lining on the inside of the bag, press the top seam, and on the outside of the bag top stitch close to the edge. You’re done!


