How I Design Bags and Purses: Part 1 | Part 2 | Part 3 | Part 4 | Part 5
Last week I made the bag lining using strips of sari silk ribbon sewn together to make a piece of silk “ribbon fabric”. This week I’m making the outside of the bag, again using sari silk ribbon but using a different sewing technique to create some texture.
I’ve chosen a background fabric that contrasts well with the color of the silk ribbon, and cut it about 1″ larger all the way around to allow for errors and adjustments.

And I’ve used the same interfacing that I used for the lining (See Part 2), which is a piece of Thermolam fusible fleece backed with a piece CraftFuse.

Then I quilted the fabric lengthways using some metallic thread – because everything looks better with a little sparkle.

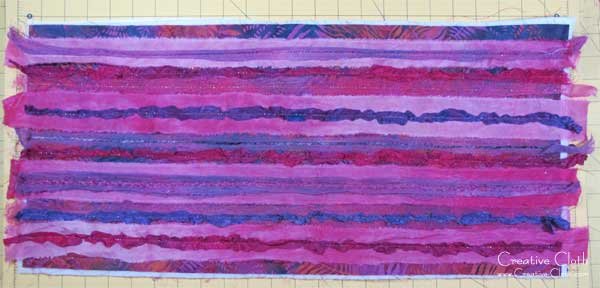
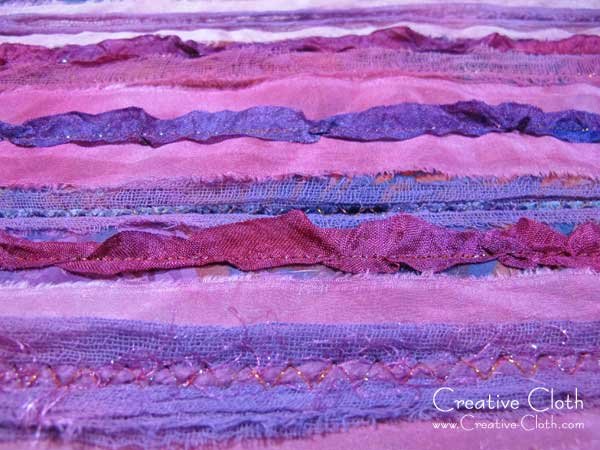
Now for the fun part. This technique for creating a textured fabric surface can be done using a combination of different types of strips including strips of ribbon or fabric, and decorative threads and fiber. I’ve collected some sari silk ribbon, rayon ribbon, and strips of cotton scrim that color coordinate with the background fabric.

Begin by pinning several rows of strips side by side. You can double up and sew strips on top of other strips.

And then sew them to the background using a straight stitch or zig-zag stitch.

Continue in this manner until the surface is covered, leaving about an inch at the sides to allow for the seams.


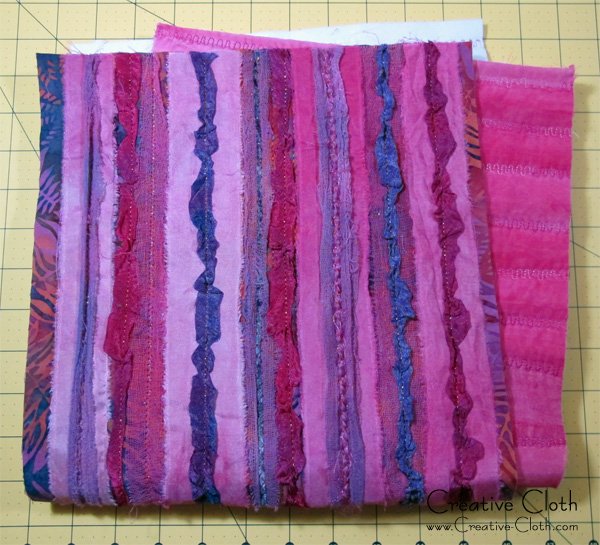
You can begin to see how the bag is going to look once it’s finished and I’m loving it!

Hopefully this will be finished next week.


