If you have been following the process:
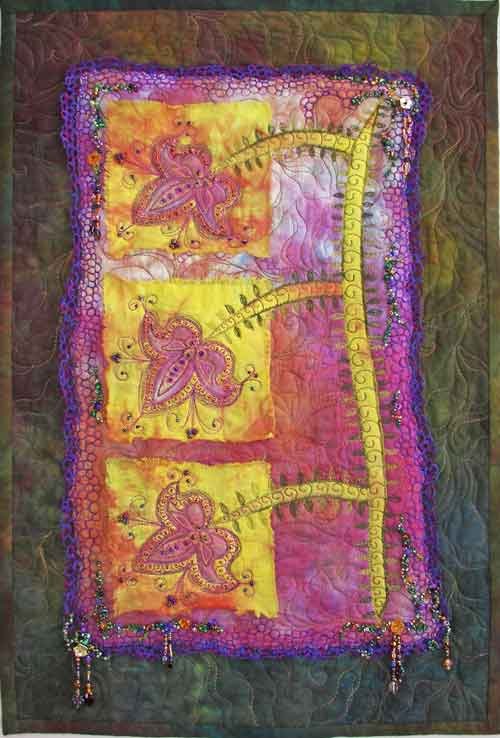
It started with some hand dyed fabrics; then I began the design process; and now for the final results:
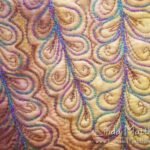
This was the result of the sample at the last installment:
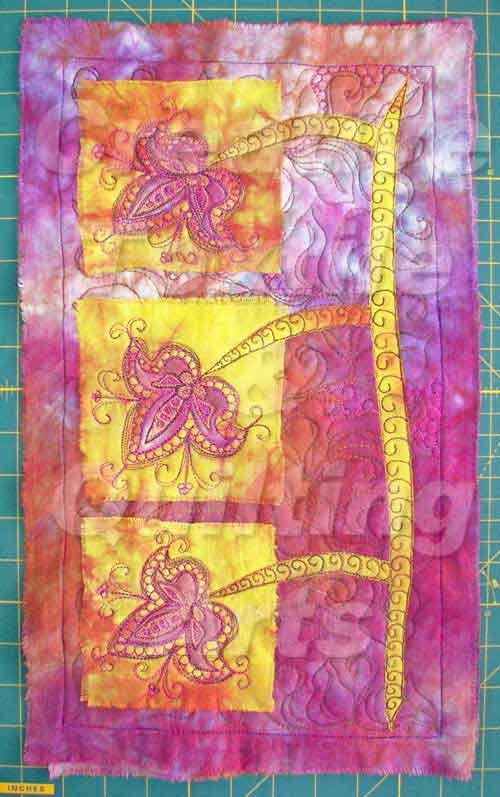
Now I needed to add a little green because what’s purple and yellow without green? So I added some small machine embroidered leaves around the edges of the stalk and stem to liven things up.

Now for the edges. It would be really easy to simply bind off and finish it at that, but I wanted to give the piece a “soft edge” finish. As I had already used small circles as part of the flower design, I decided to use the circular design to finish the edges. I placed some water soluble stabilizer underneath along the edges (a great application for using up all those small scrappy pieces of stabilizer), then quilted a couple of rows of circles all around the edges – very organic looking.

Then I carefully snipped away the fabric from the outer edges being careful not to cut into the stabilizer.
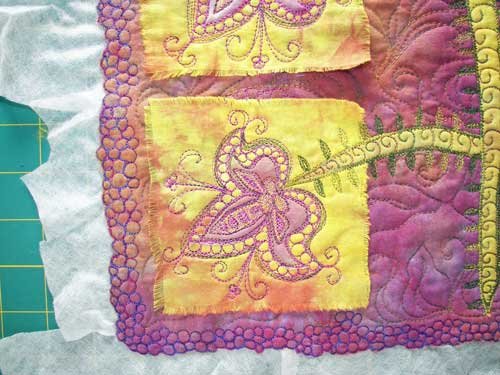
Using an embroidery hoop to keep the stabilizer taught, I extended the circular stitching onto the stabilizer.
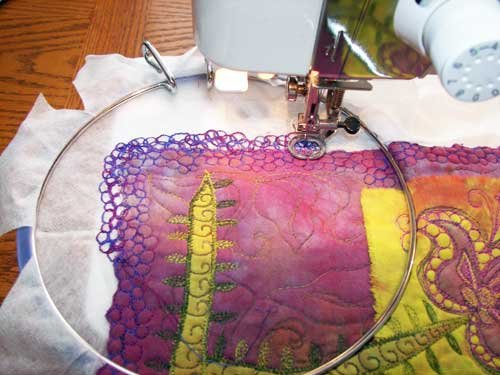
Then I washed away the stabilizer leaving a soft lacy edge.

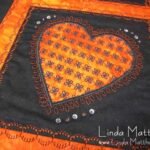
The final touch was some hand beading to the central design;
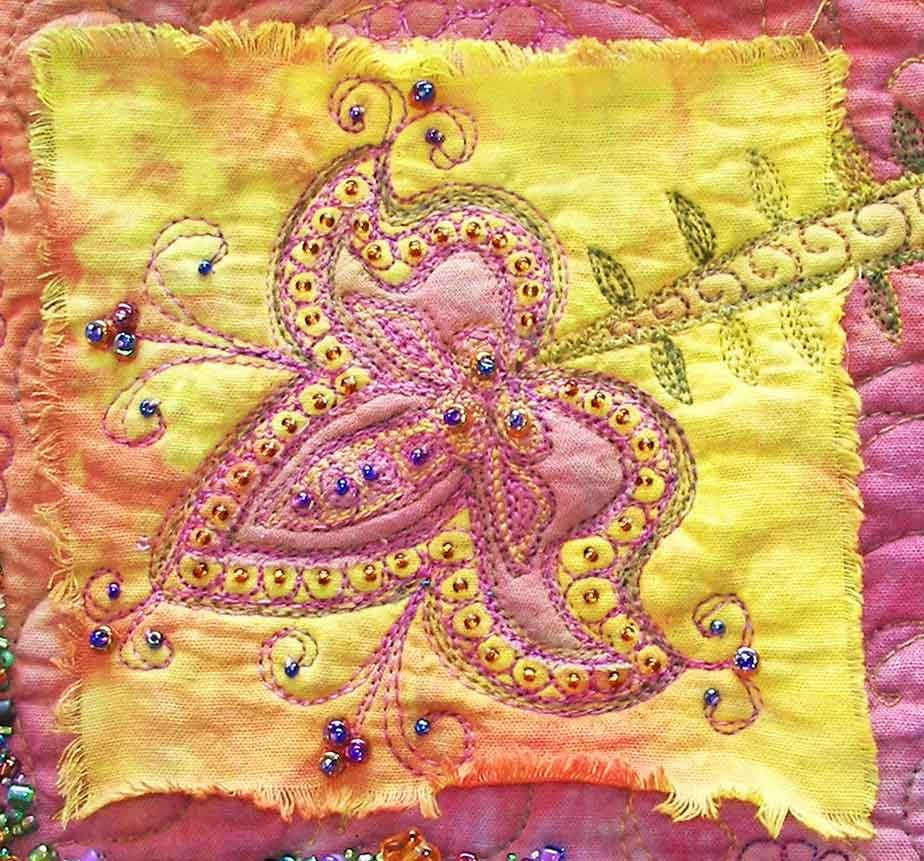
and some bead clusters along the edges.
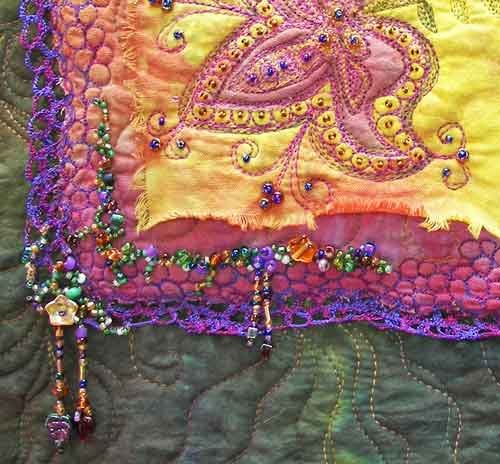
I then mounted the embroidery onto a quilted greenish colored hand-dyed background. The final size is 14″ x 21″. Considering the fabric that I started with, I’m really happy with the results.
I still have a few pieces of hand dyed fabric left over, so I might use them up in a similar fashion over the next month or so.

