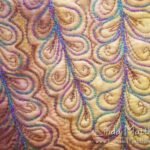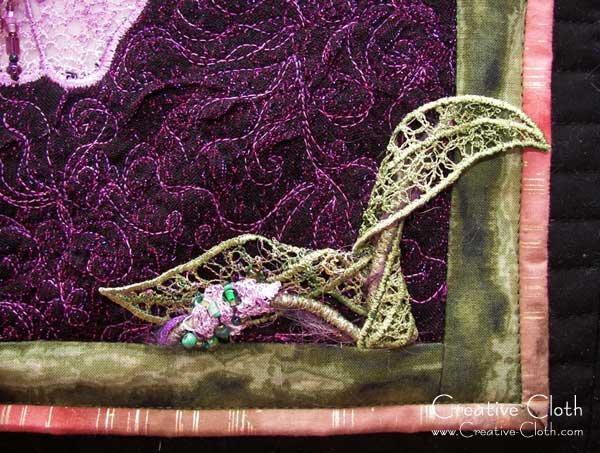
While it looks quite complex, working with thread and water soluble stabilizer is really quite easy and a lot of fun, and is one of my favorite methods of making thread art.
This tutorial shows you how to make needle-lace leaves using thread and water soluble stabilizer. Although machine needle-lace is made using small circular shapes, you can easily adapt the technique and create any design shape you like; even using straight rows of stitching instead of circles.
The Technique
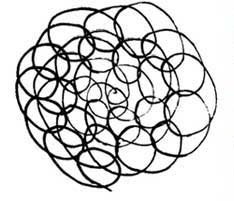
Needle-lace is made using the free motion capabilities of your sewing machine, and sewing small, pea-size loops which overlap each other. The stitches need to overlap to prevent them from falling apart once the stabilizer is washed away. You’ll probably need to practice this until you get the hang of it. Very small stitches work best.
Supplies
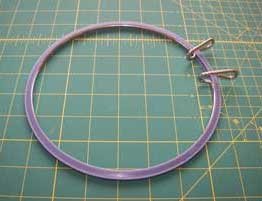
- Hand embroidery hoop. You need to use an embroidery hoop to help stabilize the fabric and the Darice spring hoop is my favorite because the spring insert allows you to insert and remove the stabilizer quickly and easily, as well as reposition it if necessary.
- Water soluble stabilizer. You can use any type of water soluble stabilizer but my favorite is Fabri-Solvy which is a fabric-like stabilizer which offers more stability when sewing lots of stitches, and it also tends to wash out easier.
- Decorative thread such as rayon, or trilobal polyester which is shiny like rayon but much stronger. Both types are quite soft and suitable for thread art and machine lacework.
- A design. You can use the one below.
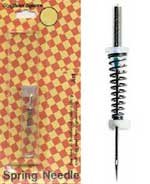
- Optional: Often when you’re sewing fine machine embroidery using free motion, the standard free motion foot gets in the way of visibility. Using a spring needle however solves this problem. A spring needle is a special needle with a plastic stopper at either end and a spring in the middle. You use it in place of a sewing machine foot when sewing free motion, and it gives you lots of visibility to see where you’re sewing. When the needle gets dull, simply swap it out for a new one although they’re not expensive.
If you want to use this leaf design, right click and save it to your desktop and resize as necessary. This shape is perfect for making twisted leaves.

Machine Setup
- Feed dogs down
- Free motion foot or spring needle
- Straight stitch
- Your choice of top thread
- Same thread or fine bobbin thread of similar color
Instructions
Using a pencil, trace the leaf design onto a piece of hooped water soluble stabilizer. Try to fit as many designs as possible to eliminate wastage.
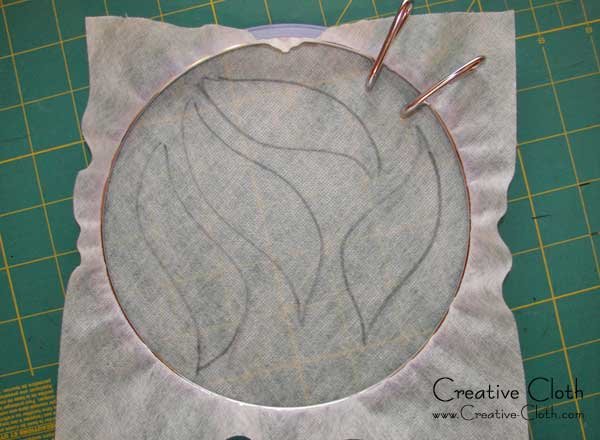
To begin, sew two or three rows of straight stitch around the outline to help stabilize the stitched design.
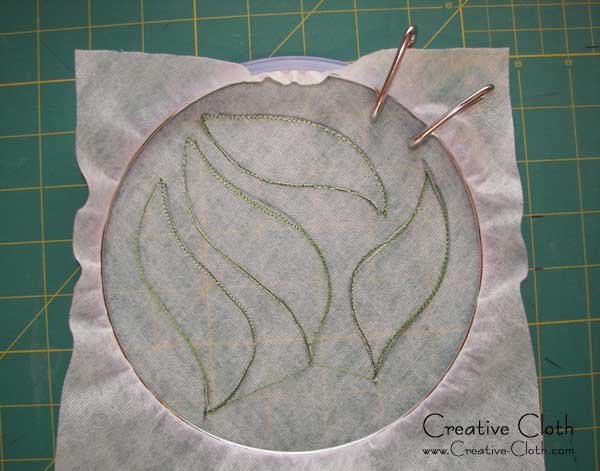
Then fill in the design with needle-lace.

To finish, sew one or two rows of satin stitch along the center vein and outer edge. You can do this with the stabilizer in the hoop and using free motion, or remove the stabilizer from the hoop and sew the satin stitch using a standard sewing foot
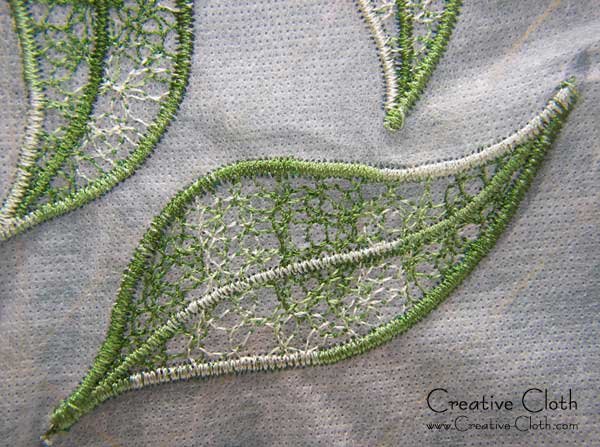
Cut away as much of the excess stabilizer as you can, then wash it out and allow the pieces to dry.

This technique is perfect for making needle-lace embellishments.

If you try this technique make sure to let me know and send photos!

