This year I’ll be creating beautiful memory journals, a new one every month, using my new Creative Art’n’Soul Printable Journal Kits. You can find all the information about how to get started here. And it’s never too late to begin! You don’t need to wait for the beginning of a new year, or the beginning of a new month, or even the beginning of a new day – every single minute of every single day offers us a brand new opportunity to start fresh.
I’ve found that developing a daily artistic practice is the same as developing a new habit. It requires time, effort and consistency. Over the years I’ve also discovered that when creating new habits I have a better chance of success if it’s fun and easy. When something’s too hard, it’s easy to make excuses not to do it. I’m sure you’ve found this to be true also.
So I’ve applied that logic to this year’s journal project and I’ve made it super easy for you to get started, because most of the hard work is already done when you use one of my new Printable Journal Kits.
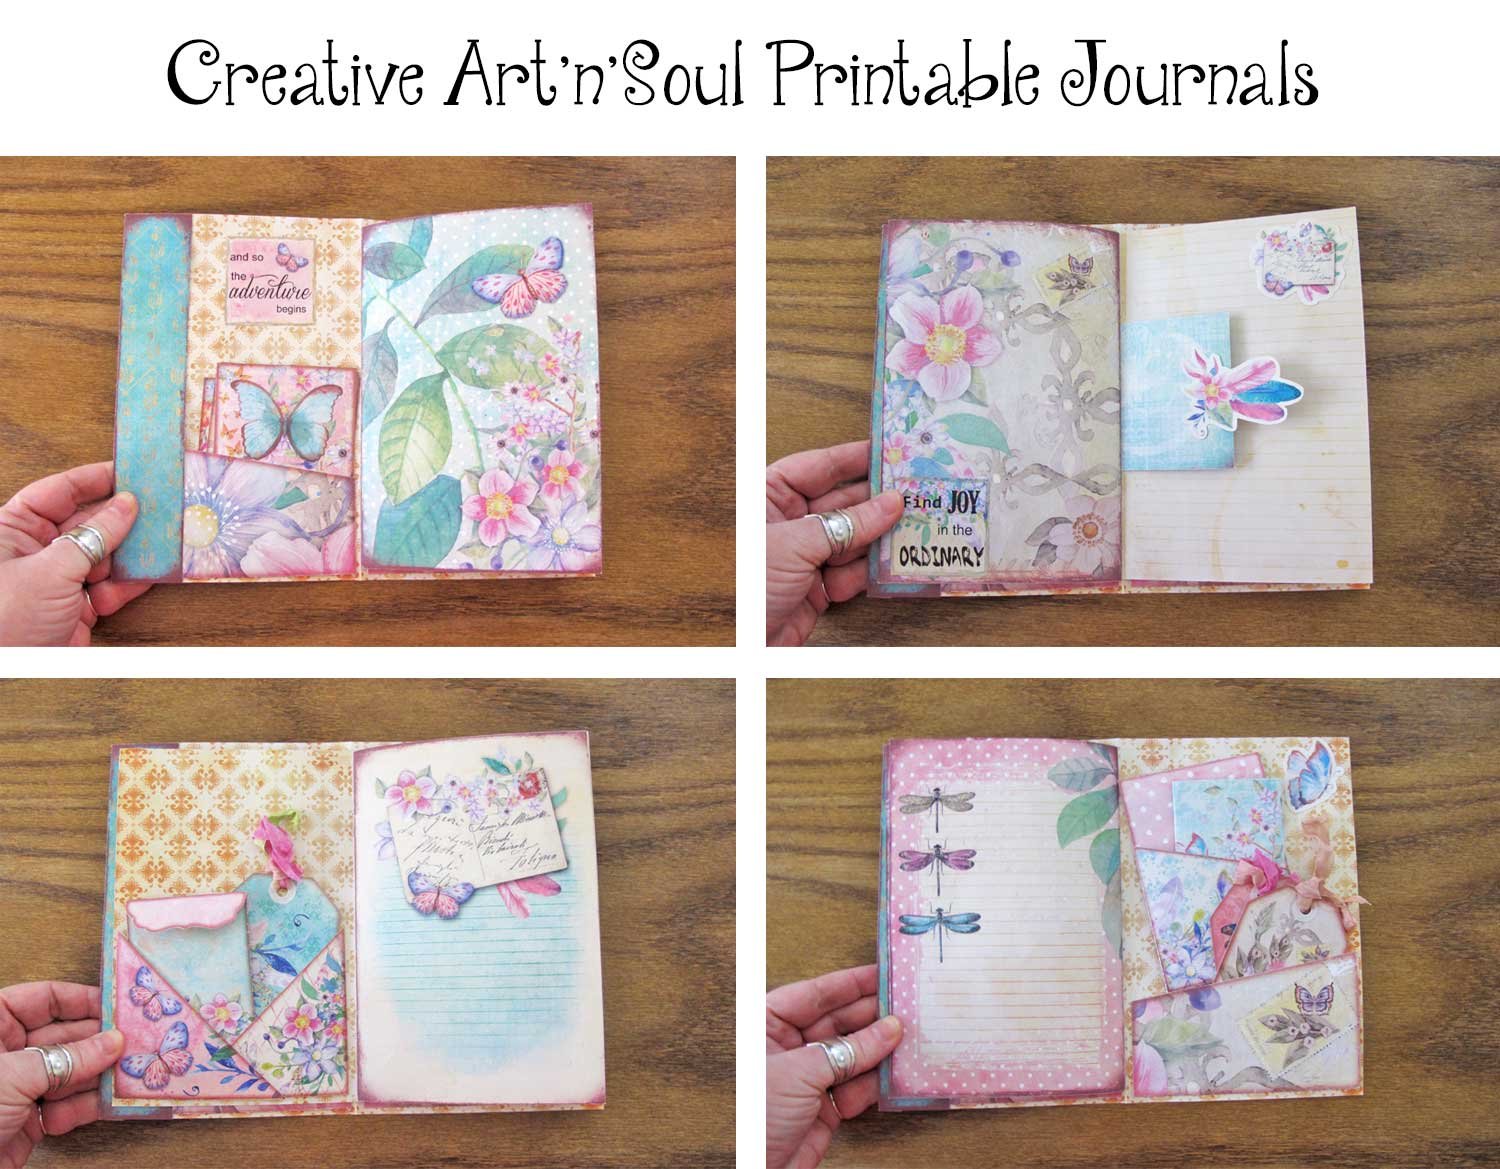
– You don’t need to think about what type of project you’ll be working on – it’s already decided.
– You don’t need to think too much about how to paint or decorate the page – it’s already done for the most part.
All you need to do is show up every day, choose one of you favorite memories for the day, then pick a journal page and complete it. Some days this will take only minutes, but some days you might feel like putting a little more effort into it. The choice is yours and you can make it work to fit your own personal time limitations and schedule.
Getting Started
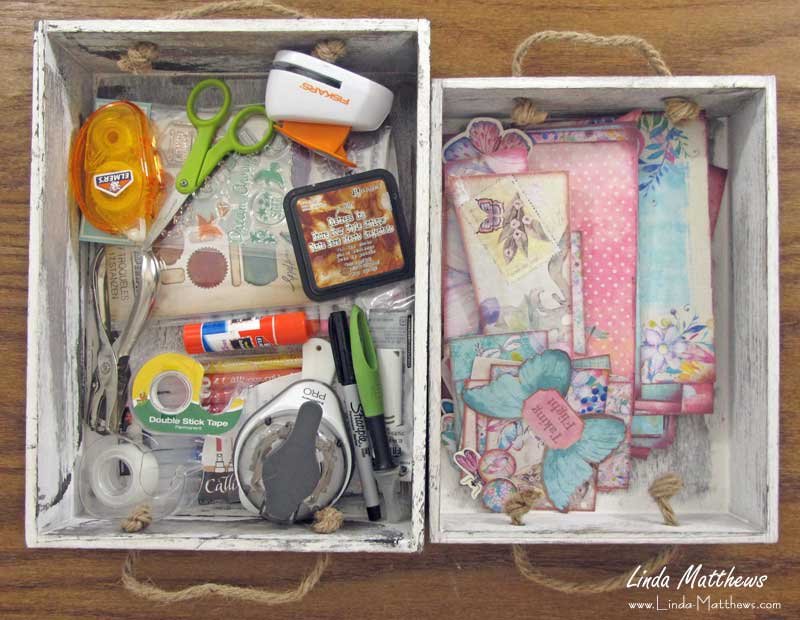
Even though I’ve developed a solid daily artistic practice over the years, I still like to make things quick and easy. So for this particular project I purchased a set of wooden trays to store the tools and supplies that I’ll be using regularly, as well as my pages and other elements. Everything is conveniently in one place, so I can stack the trays out of the way when I’m not working on my project, and then each day I can quickly get to work without scrambling around looking for things.
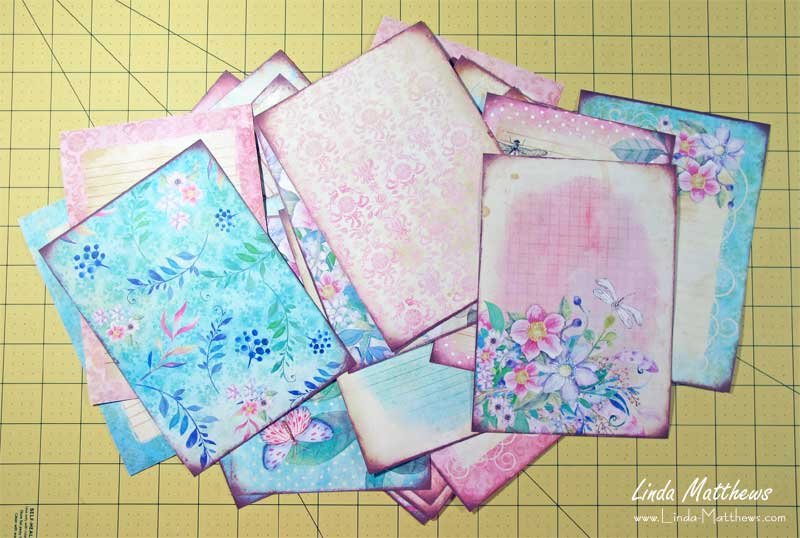
I printed all the pages from the Taking Flight Printable Journal Kit and the Taking Flight Printable JournalNotes Kit. I printed each of the double sided pages onto a separate piece of 67lb cardstock, then cut up all the double pages into singles. I’ll be working on one single page per day and then at the end of the month I’ll glue and/or sew the pages back to back and assemble them all together into a completed journal.
I also printed out all the elements such as pockets, envelopes, journaling cards, etc.
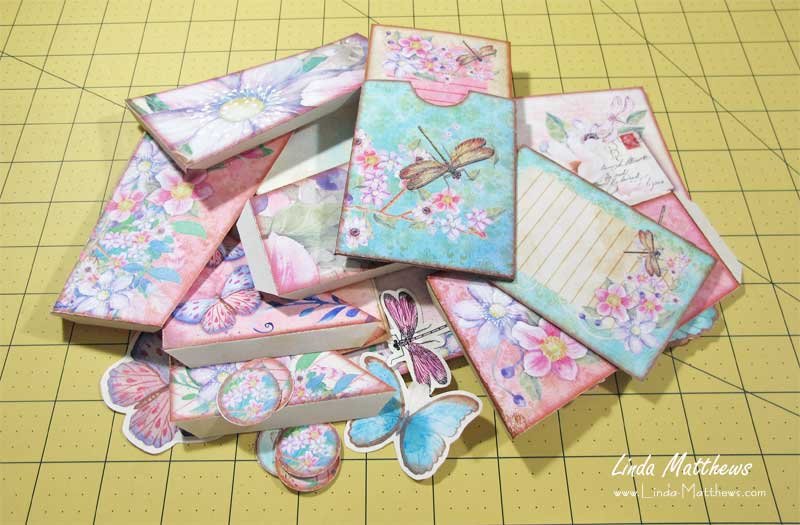
Tips for Assembling Printable Pockets and Envelopes
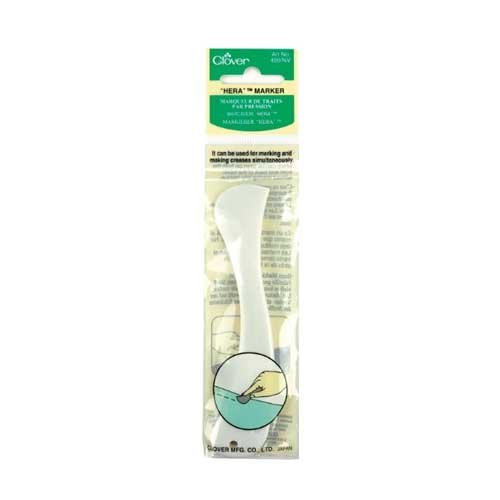
One thing I noticed when I was assembling the printable pockets and envelopes is that when scoring the tabs prior to folding them over, the hera marker that I used to score the folds rubbed away a little of the ink along the foldline.
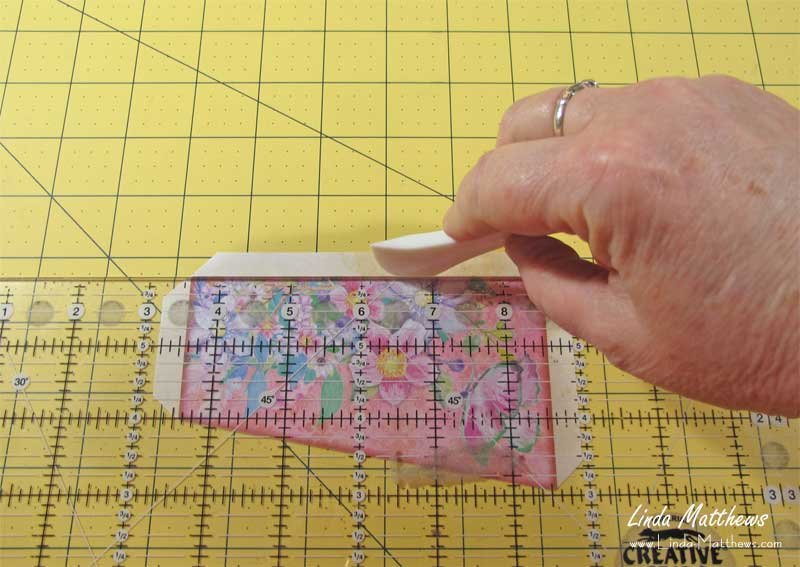
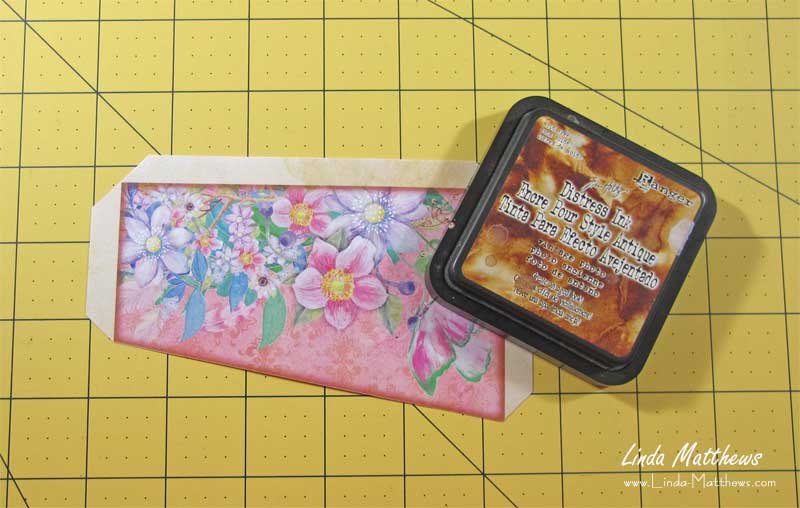
To fix that problem you only need to rub a little distress ink over the folded edges to hide the problem. It’s worth noting that you can only do this if you’re using a printer that uses permanent or water-resistant inks. I’m using a color laser printer so the ink is permanent. But some inkjet printers use ink that isn’t water-resistant. The best way to determine what inks you have is to print a small test piece, wait a few minutes for the ink to dry, then sprinkle some water over the top. If the ink isn’t permanent it will smear and run.
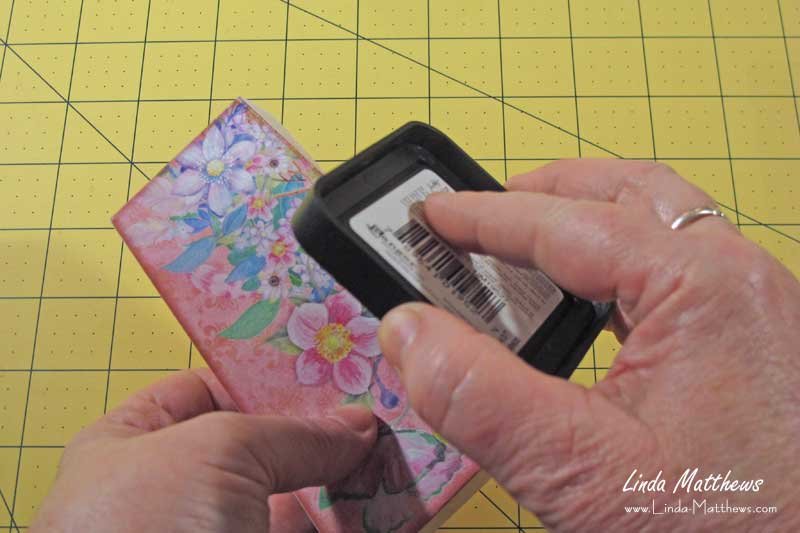
My favorite ink is Tim Holz Distress Ink – Vintage Photo.
Today’s Journal Page
Be like the bird who, pausing in her flight awhile on boughs too slight, feels them give way beneath her, and yet sings, knowing she hath wings.
Victor Hugo
To get things started, for the first page of my new monthly journal I wanted to make a quotation page as a thoughtful reminder of what this particular journal is all about. So I wrote a quotation on one of the printable journal cards, then mixed things up a bit by adding some fabric, lace and ribbon, all stitched to a printed page using some machine and and hand stitching.

Tip: If you decide to make your pages in the same way as I do, leave about 1/2″ all the way around the edge of the page so there’s room to sew the pages together at the end of the month.
You’re invited to join me on my journey.


