I don’t know about you, but some photoshop elements techniques I only use once in a very long while. And of course you tend to forget how to do things after a while, memory being the way it is and all. I’ve found the best way to remember how to do things in photoshop elements, is to post the tutorial on my own blog for quick reference. Which is a bonus for you!
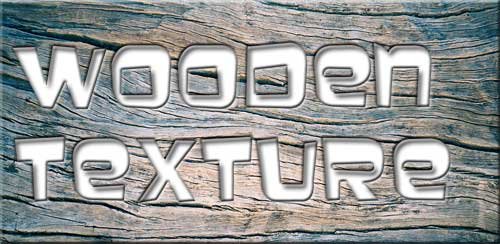
So enjoy today’s tutorial – a cool text effect.
Note: This tutorial is presented using Photoshop Elements, but the steps will be similar in Photoshop.
Open your image in photoshop elements. I found this interesting wooden texture image at the Texture Warehouse. If you want to follow along with the tutorial, you can download it for free here. (sorry, no longer available).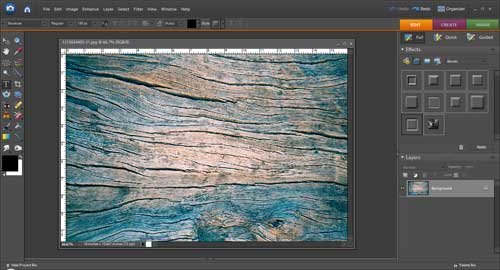
Turn this image which is currently the background image into a layer by double clicking on the image layer in the layers palette and then click OK in the dialog box.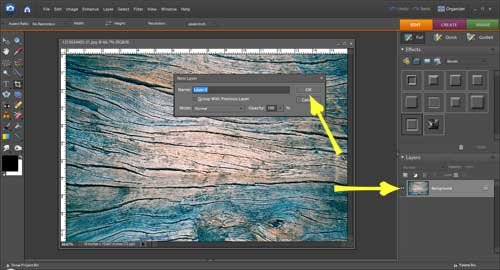
Make a new layer by clicking the Create a New Layer icon.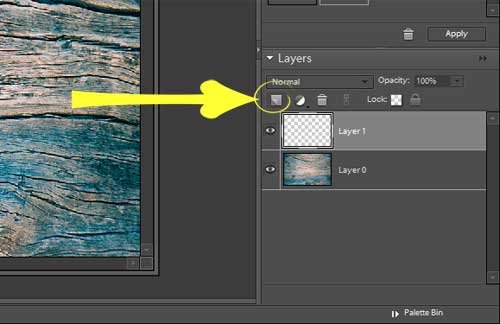
Fill the layer with white.
Using your mouse, drag the main image layer on top of the white layer.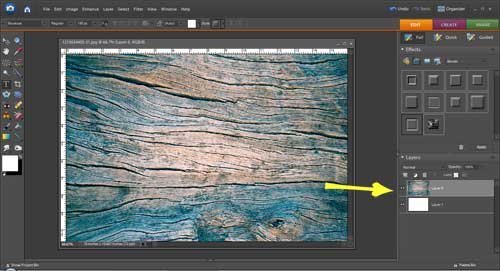
Right click the Text Tool and select Horizontal Type Mask Tool.
Select a font that is bold and chunky. I used Baveuse which you can download free from here.
Select the appropriate size for your font. I used 180px.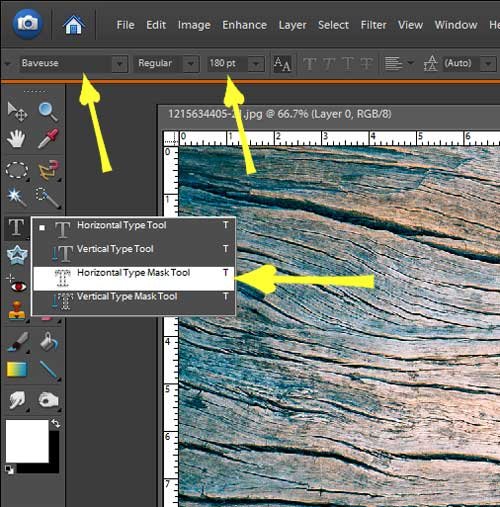
Click on the image and you’ll notice that the background turns a reddish color.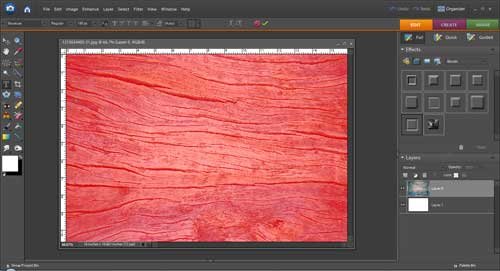
Type your word.
Click the check mark …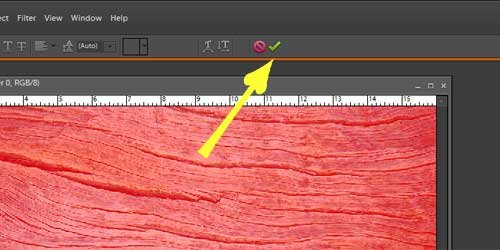
… and you’ll notice that the text becomes outlined in marching ants.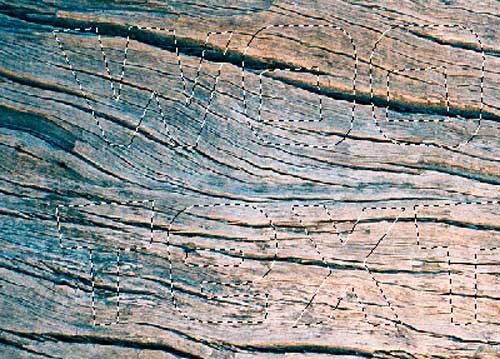
Hit the Delete key on your keyboard and this deletes the letters that are outlined by the marching ants, revealing the bottom layer which we earlier filled with white.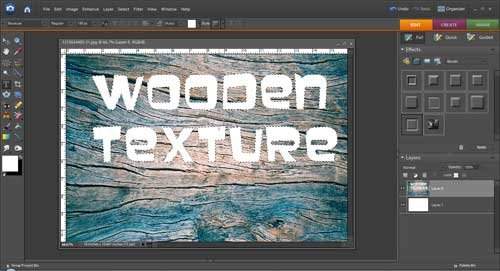
Select the Low shadow effect from the Shadow Effects Palette, or you can play around with the other types of shadows.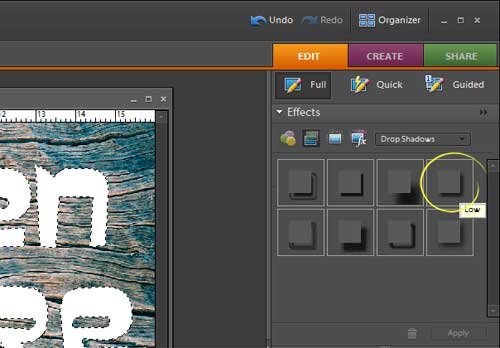
And you can see that the shadow effect gives a cut-away effect to the lettering.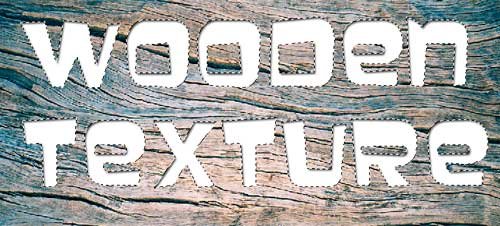
Press the Esc key on your keyboard to remove the marching ants.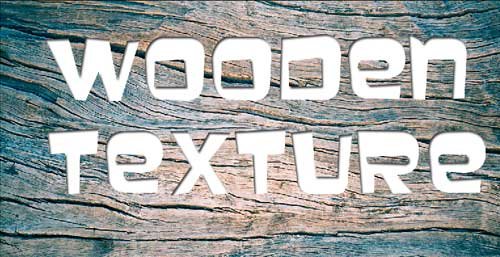
You can play around with different types of drop shadows and bevels to create interesting text effects.